Last updated November 17, 2026





Free written scope consultation - allowances, timeline, and change-order rules on paper before a single trade is scheduled
Kitchen Remodeling Troubleshooting: Common Problems and How to Fix Them
Cabinet doors that won’t close flush and grout that cracks within six months are almost never installation failures. They’re substrate and shimming failures that got covered up before the finish work began. By the time a drawer drags or a seam opens, the cause is usually buried under tile and stone. That’s the frustrating part about kitchen remodeling problems: the mistake that causes them is almost always visible during the build, if you know what to look at and what to ask. This guide walks you through a kitchen remodel phase by phase, so you can spot trouble while it’s still cheap to fix. We work in Huntington Beach kitchens every week, and the pattern holds here as much as anywhere.
Quick Answer
Most kitchen remodel problems fall into three buckets: a framing or substrate that was out of level or out of plumb, a cut or template that was approved without verification, and a finish installed over conditions that should have been corrected first. The fix is to inspect at each phase – rough-in, cabinet install, countertop template, backsplash, and punch list – and to get the written price and guarantee before demo day so you have leverage if something needs to be made right.
Styles & brands we work with
- Kitchen remodeling
- Bathroom remodeling
- Home additions & ADU
- Roofing
- Windows & doors
- Driveway & pavers
- Fence
Table of Contents
- Why Out of Level and Out of Plumb Cause Cascading Problems
- Phase 1: What to Check During Rough-In
- Phase 2: Inspecting Cabinet Installation
- Phase 3: Inspecting the Countertop Template Before the Stone Is Cut
- Phase 4: Backsplash and Substrate Checks
- Phase 5: The Punch List – Your Last Clean Shot
- What a Real 365-Day Guarantee Actually Covers
- Three DIY Fixes After a Remodel – and Which Ones Are Warning Signs
Why Out of Level and Out of Plumb Cause Cascading Problems
Before we get into the phases, a quick translation. “Level” means flat side to side – a marble won’t roll off a level countertop. “Plumb” means straight up and down – a wall that’s plumb is exactly vertical. Cabinets and countertops depend on both. If your kitchen is off even a quarter inch across a run of cabinets, that quarter inch has to go somewhere. It shows up as a widening gap at the top of a cabinet door, a drawer that rubs on one side, or a countertop seam that opens a hairline crack six months later.
Here’s the counterintuitive part: the finishers can’t fix it. By the time cabinets and stone are going in, the level and plumb of the room were set long before. And Huntington Beach homes aren’t uniformly plumb. A lot of the older single-story houses in the neighborhoods off Brookhurst and Adams have settled slab foundations, and the ocean air keeps wood framing moving season by season. A crew that shims cabinets to the wall without checking that the wall itself is straight is setting you up for doors that never sit right.
So the question to ask your contractor early is simple and specific: “Did you check the walls for level and plumb before we ordered cabinets, and what’s the plan for anything out?” A pros will have an answer. A crew that hasn’t thought about it is the one to worry about.
Phase 1: What to Check During Rough-In
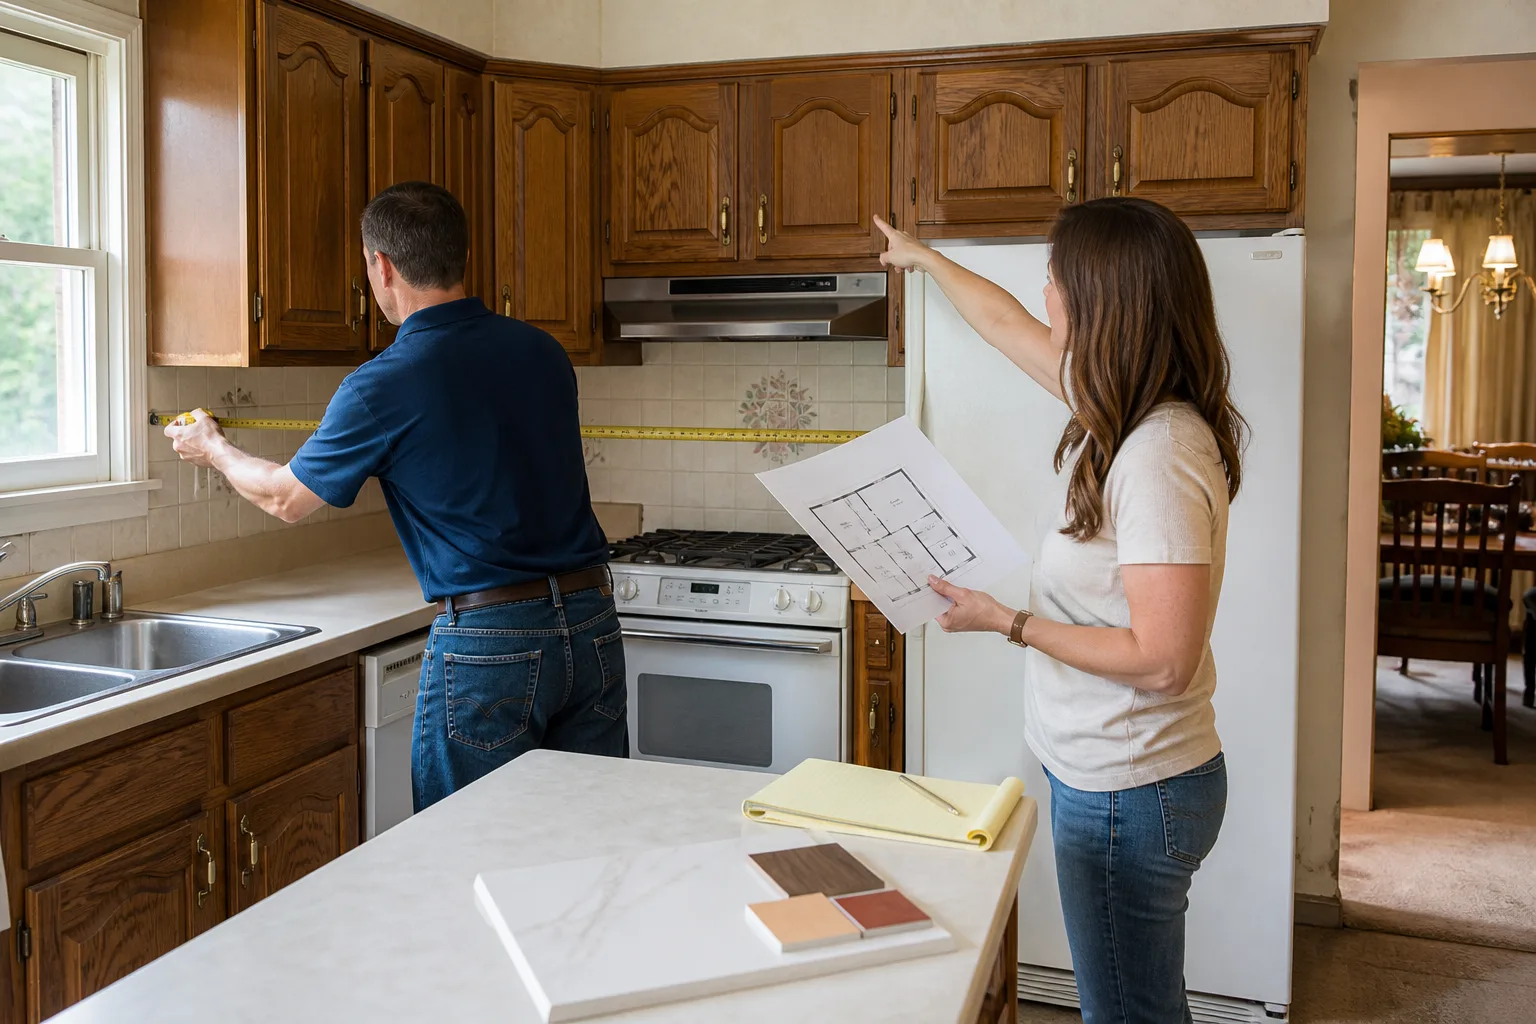
Rough-in is the messy, unglamorous stretch – framing, plumbing, electrical, and the substrate (the layer the finish sits on). This is the phase where the cheapest fixes live, because nothing is covered yet. If you only pay attention at one point during your remodel, pay attention here. Once the drywall closes and the cabinets go up, you’re arguing about symptoms instead of causes.
Walk the jobsite at the end of rough-in and check the following:
- Wall flatness. Hold a four-foot level or a straight piece of lumber against the walls where cabinets will hang. A gap wider than an eighth of an inch over four feet needs to be addressed before cabinets arrive.
- Plumbing locations. Confirm the sink rough-in and the dishwasher supply and drain lines line up with the cabinet plan. A sink shifted six inches means a cabinet that has to be re-cut or a plumbing change after the fact.
- Electrical box heights. Compare the outlet heights against the finished backsplash height. Boxes set too low sit half-buried in tile; boxes set too high leave an ugly gap.
- Subfloor condition. Check that the floor is clean, flat, and dry before any flooring or cabinets go down. Soft spots from a past leak can drop a cabinet run out of level over a single season.
Penhallow technicians draw on up to 22 years of experience, and this is exactly the kind of check that experience buys you – catching the wall that’s a half-inch out of plumb before the cabinets are ordered instead of after. Our General Contractor in Huntington Beach handles this full rough-in sequence and calls out anything that needs a change order before it becomes a problem.
Phase 2: Inspecting Cabinet Installation
A cabinet install can look finished in an afternoon and still be wrong. The trick is not to eyeball the doors – eyeball the corners and the gaps. Cabinet problems show up in the details, and the details are checkable while the installer is still on-site. Whether you’re going with a KraftMaid line or a Wellborn cabinet, the checks are the same, and a quarter-inch of variance is visible to anyone looking closely.
Open every door and pull every drawer, then check:
- Reveals (the gaps around doors and drawers). The gaps should be even all the way around each door. A reveal that’s tight at the top and wide at the bottom is a shimming problem – the cabinet is out of plumb against the wall.
- Door alignment. Close each door and look across the faces. Doors should sit flush with the cabinet frame. A door that sticks out at one corner will rub or fail to seat as the hinges settle.
- Drawer glide feel. Every drawer should glide smoothly with one hand and close fully without a shove. If a drawer drags or stops short, ask the installer to adjust the glides before the job closes.
- Fastener tightness. Cabinets should be screwed to the wall studs, not just to the wall. Ask how they were anchored, especially where cabinets carry the weight of stone on top.
If something’s wrong at this stage, it’s a small correction – a shim, a hinge adjustment, a re-seat. Left alone, it’s the reason your cabinet doors won’t close flush in two years. Getting the price and the guarantee in writing before this phase is how you hold a crew to fixing it now rather than promising to come back.
Phase 3: Inspecting the Countertop Template Before the Stone Is Cut
This is the most expensive mistake a homeowner can prevent by asking one question. Countertops are templated – a physical or digital measurement of your actual cabinets – before the slab is cut. Once the stone is cut, it’s cut. If the template recorded a measurement wrong, you own the result, or you argue about who does. A Cambria quartz slab or a Silestone or Caesarstone top isn’t a returnable item.
Every reputable fabricator produces a template you can review. Review it. Here’s what to look at:
- Sink and cooktop openings. The template should show the exact size and position of the sink cutout and the cooktop cutout. Compare against the specs for the exact Kohler or Moen sink you’re installing, not an assumed size.
- Overhangs. The amount of stone that cantilevers past the cabinets should match what’s expected for seating or the standard edge. An overhang that’s two inches off is a fixing job, not a finishing job.
- Seams. The template marks where the seams will land. Ask whether a seam falls in a visible spot, and whether it hits a joint in the cabinet run.
- Wall scribe allowance. Along the back edge, the template should account for the wall not being perfectly straight, so the stone can be scribed (trimmed slightly to fit the wall) rather than gap.
The one question to ask, before you sign off on any template: “Walk me through exactly how this was measured, and where the seams will fall.” A fabricator who can’t answer that clearly is the fabricator to slow down. This is the step where our team at Penhallow will not move forward without your sign-off in writing.
Phase 4: Backsplash and Substrate Checks
Grout that cracks within six months of a remodel is usually not a grout problem. It’s a substrate problem – the moisture-resistant layer behind your tile, typically cement board, wasn’t set over framing that was stable, or it was set without the proper treatment at the joints. Huntington Beach’s coastal humidity means materials move more than they would inland, so getting this layer right matters more, not less.
What to check during backsplash install:
- Substrate condition. Ask that cement board be used in wet areas and that it’s screwed to studs, not glued to drywall. Glue lets the board shift and the tile cracks along the seams.
- Joint treatment. The seams between backer boards should be taped and filled with thinset, not left open. Open seams telegraph straight through to the tile face.
- Tile pattern and cuts. Cuts against the underside of the upper cabinets should be neat and consistent. If they’re ragged, the tile setter is rushing, and rushed tile setters also rush the substrate.
- Caulk, not grout, at the edges. The joint where the backsplash meets the countertop and the upper cabinets should be caulk, not grout. Grout cracks there every time; caulk flexes.
If your backsplash is already done and you’re noticing hairline cracks at the counter or along a seam, this check is what tells you whether it’s cosmetic or a sign of something bigger underneath.
Phase 5: The Punch List – Your Last Clean Shot
The punch list is the written list of every small item still wrong or unfinished when the crew thinks they’re done. It’s your last clean shot at getting fixes done for free, before they back out of the driveway. Take it seriously and document everything with photos. A photo of a door gap next to a tape measure is worth ten verbal complaints.
Walk the finished kitchen and build a punch list covering:
- Every cabinet door and drawer – open and close all of them, note any misalignment or drag.
- Countertop seams and edges – feel for lips, check the caulk line, look for chips at the edges.
- Backsplash – look for cracked grout, uneven cuts, gaps at the counter.
- Hardware – check every pull, knob, and hinge; loose hardware on new installs points to a fastener that missed the cabinet stile.
- Lighting and outlets – flip every switch, test every outlet, check for recessed lighting that’s off-center or flickers.
- Cleanup – a clean job site is written into the Kingswell Way standard. The place should be cleaner than the crew found it, or the job isn’t done.
Write it all down and submit it as one list. Contractors can handle a list; contractors get frustrated by a trickle of one-off complaints over two months. Our Kitchen Remodeling in Huntington Beach work wraps only when the punch list is signed off, and the 365-Day Done Right Promise starts when it is.
What a Real 365-Day Guarantee Actually Covers
A legitimate 365-day guarantee covers workmanship – the things the crew installed that fail because of how they were installed. It does not cover material wear. That distinction is the one most homeowners get confused about after a remodel, and it’s the difference between a clean, no-fight warranty claim and a months-long argument.
Workmanship defects typically include:
- A cabinet door that sags or rubs because the hinge was set wrong.
- Grout that cracks along a joint because the substrate wasn’t treated correctly.
- Caulk that separates at the counter-to-backsplash line because it was applied over an unclean surface.
- Loose hardware that pulls out because it missed the stile.
Material wear includes:
- Scratches on a countertop from ordinary use (a Silestone or Caesarstone surface is durable, not indestructible).
- Fading or discoloration from sun exposure.
- Normal caulk aging after a year.
To make a claim fast, document it properly: a photo with a measuring tool or a wide shot that shows where on the surface the issue is, the date you first noticed it, and the dates it’s been visible. Send it in writing. A written guarantee with a documented issue is the easiest claim to honor. The Kingswell Guarantee, which our work operates under, requires a written price before work starts and a written guarantee on every project – that’s the paper trail your claim leans on.
Three DIY Fixes After a Remodel – and Which Ones Are Warning Signs
Three problems show up again and again after a remodel, and homeowners usually try to fix them on their own. Two are genuinely DIY, one is a warning.
Caulk gaps. If a small gap opens at the counter-to-backsplash line, the fix is genuinely a DIY job: clean the joint, let it dry, and apply a fresh bead of 100% silicone caulk. Not a warning – just normal caulk aging. But if the gap reopens in the same spot within a few months, the joint is moving and the substrate check from Phase 4 is worth doing.
Sticky drawers. A drawer that drags can usually be adjusted at the glide with a screwdriver. That’s DIY-friendly. But a drawer that’s been smooth and suddenly stops closing fully is a sign that either the glide or the cabinet box has shifted – which points back to the level and plumb issue from earlier. Check whether other drawers on the same run have changed too.
Loose hardware. A knob that spins or a pull that wiggles is the third. It’s a fastener that backed out, and it’s an easy fix with a screwdriver – unless the screw won’t tighten, which means it stripped out of the cabinet stile. That one’s a warning sign. It means the original install missed the stud or used the wrong fastener. Don’t over-tighten and don’t fill it with plumbing putty and hope. Call it in.
Common Mistakes to Avoid
- Approving a countertop template without a walkthrough. The template is the one document that commits stone to a specific cut. Ask how it was measured and where the seams fall before you sign.
- Skipping the rough-in walk. Most of the big problems were preventable at rough-in. If you only pay attention at the end, you’re fixing symptoms.
- Accepting a verbal price. A number said out loud on demo day is the number that changes by invoice day. Get it in writing before anyone touches a cabinet.
- Signing punch list without photos. Verbal punch lists get forgotten. Photos with a tape measure and a date are what a warranty claim stands on.
- Assuming a coastal home is a straight home. Huntington Beach homes on settled slabs and near the ocean settle and move more than inland homes. Level and plumb checks matter here.
- Fixing a stripped hardware screw with glue or putty. A stripped screw is telling you the install missed the stile. Patch it and it fails again in weeks.
- Assuming a guarantee covers material wear. Workmanship is what a legitimate 365-day guarantee covers. Read the guarantee language before the job, not after.
See the difference
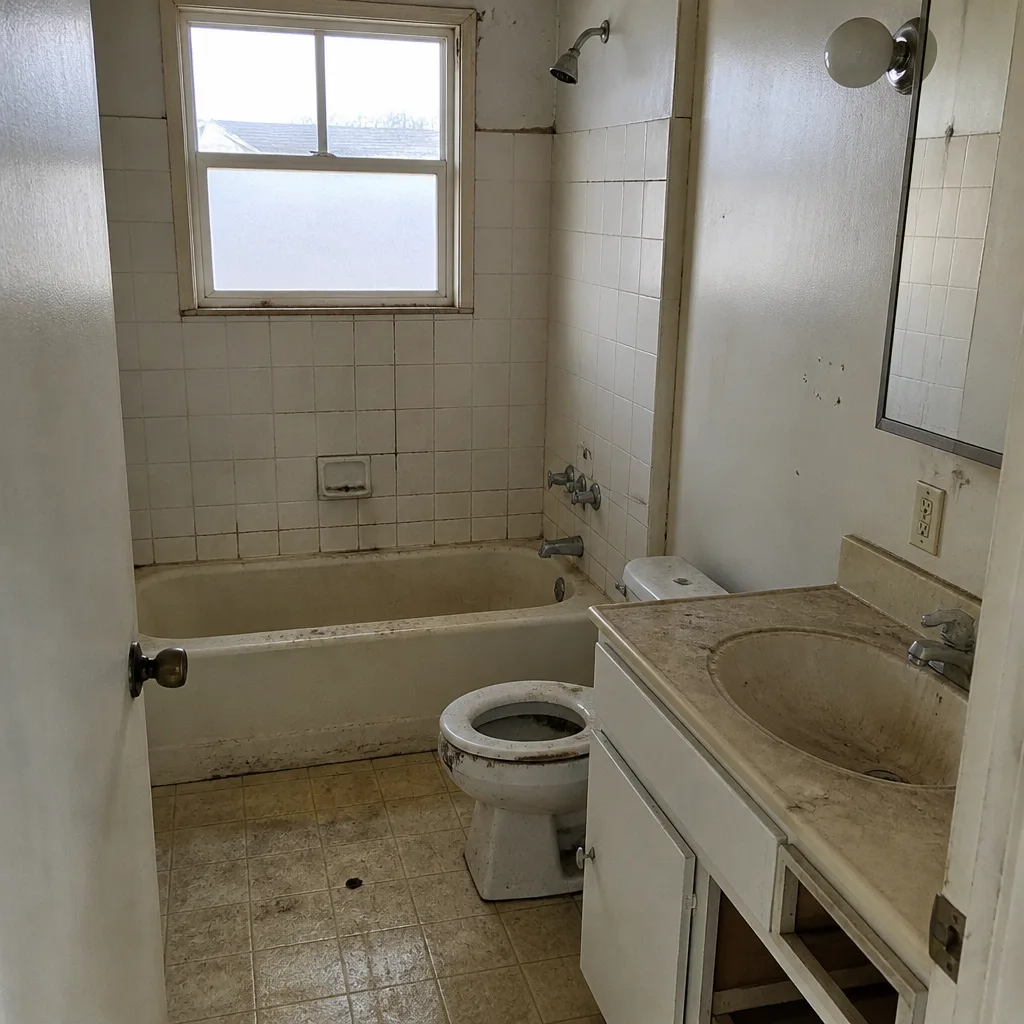 Before
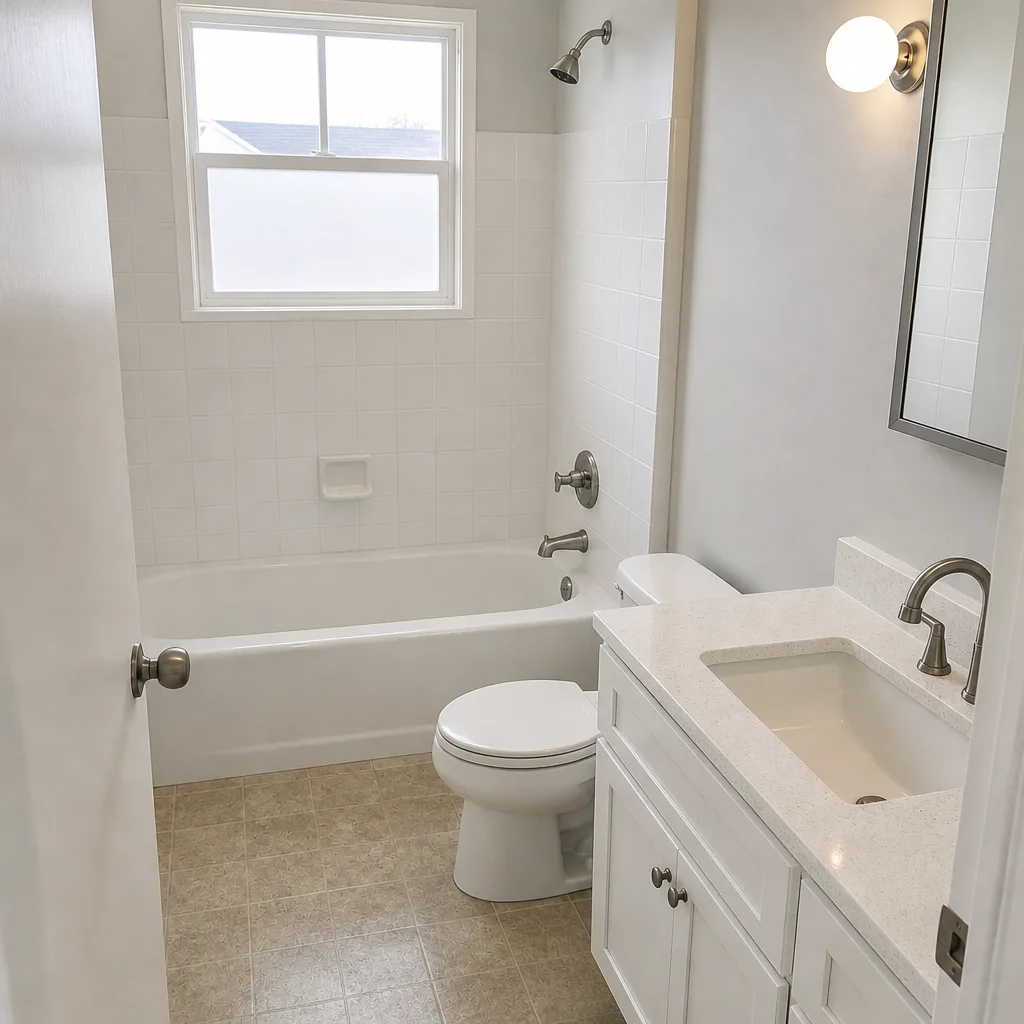 After
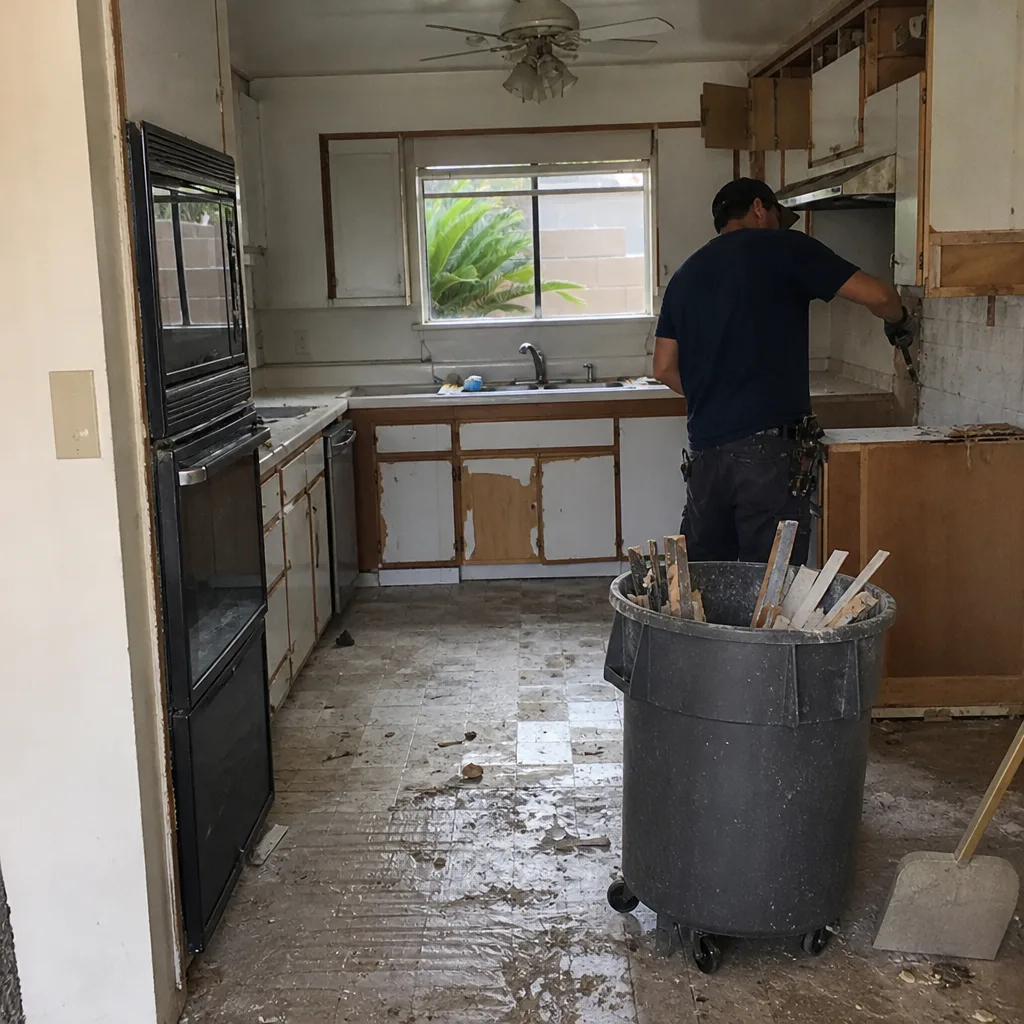 Before
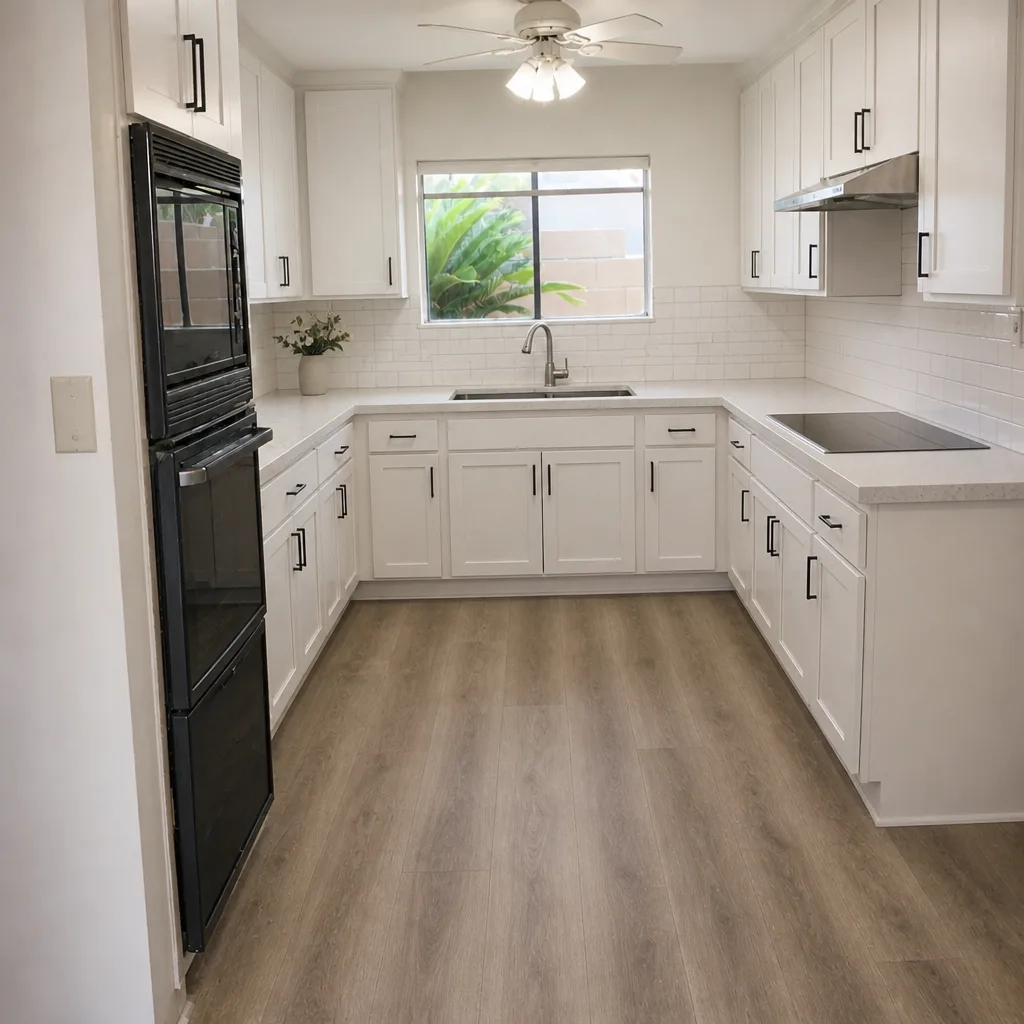 After
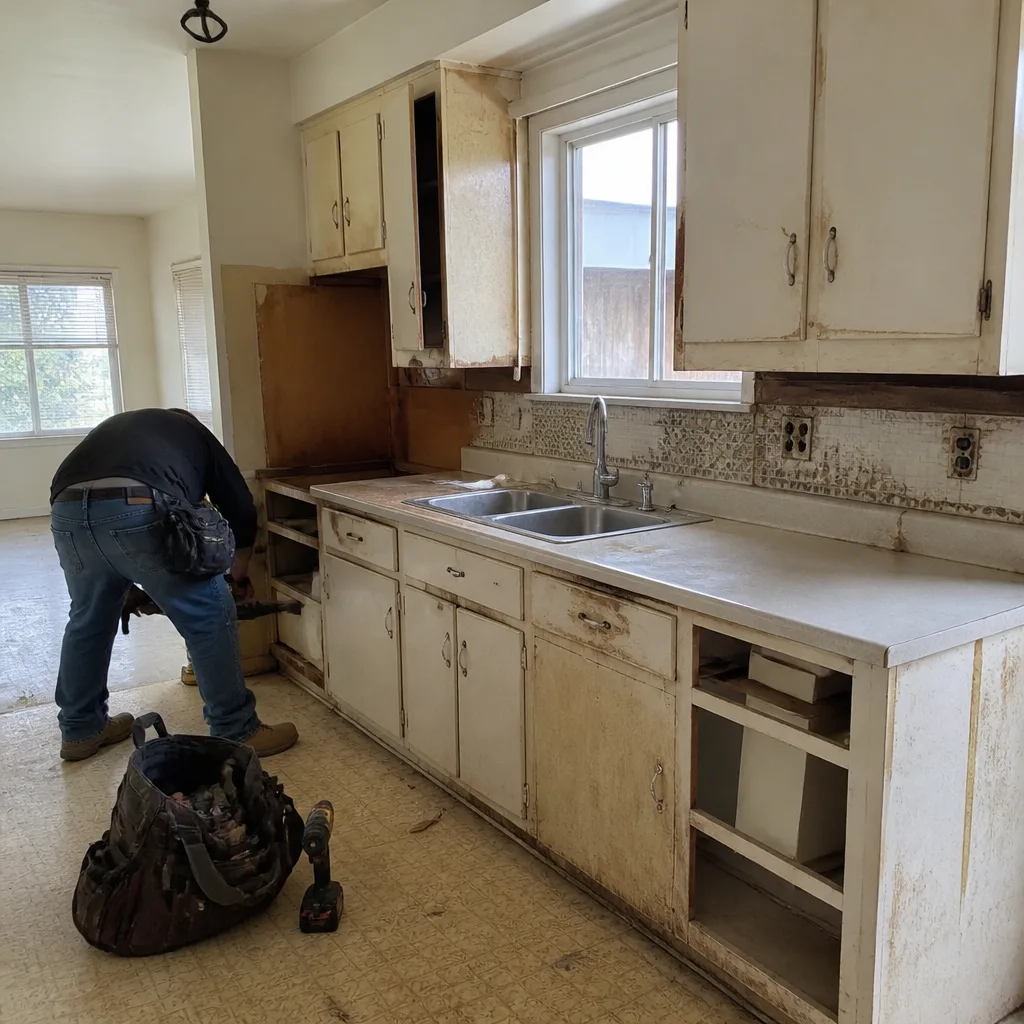 Before
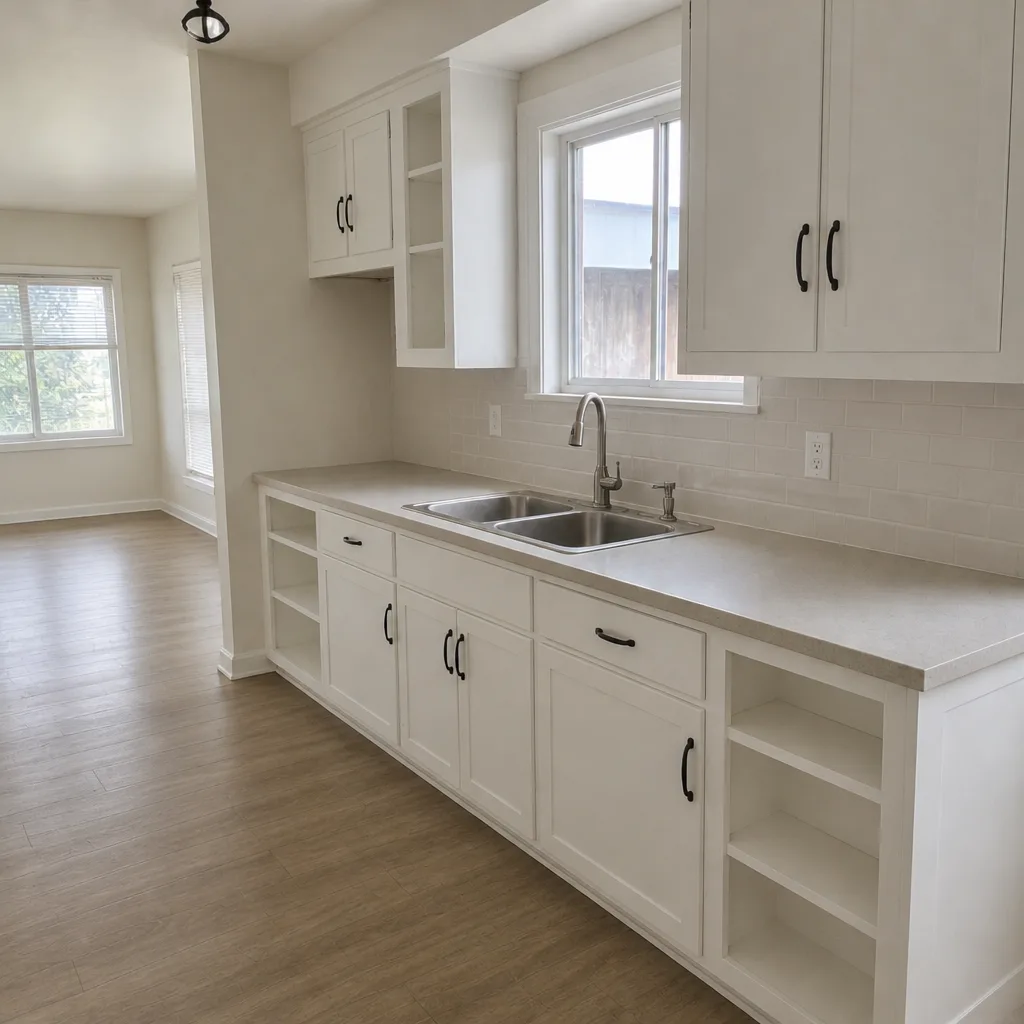 After
When to Call a Professional
Some of these fixes are a screwdriver and ten minutes. Others need a pro. Call in a professional if a cabinet run is out of plumb against the wall (the shimming is structural, not cosmetic), if a countertop seam opens or a slab edge chips (stone needs a fabricator), if a backsplash grout line cracks along the same joint after you’ve caulked it once, or if hardware keeps stripping because the install missed the framing. These are the issues that look small but point to the condition underneath. Huntington Beach homeowners in the middle of any of these, or thinking about a remodel, can get a free written estimate from Penhallow Remodeling Huntington Beach – call (888) 329-8145. Every estimate comes with a written price and a written guarantee before work starts, and our team is part of the Kingswell family of companies, operating under the same standard of write-it-down-before-you-start since 2004. Our Bathroom Remodeling in Huntington Beach work follows the same phase-by-phase discipline, and you can explore our Penhallow Remodeling Huntington Beach home page for the full picture.
Frequently Asked Questions
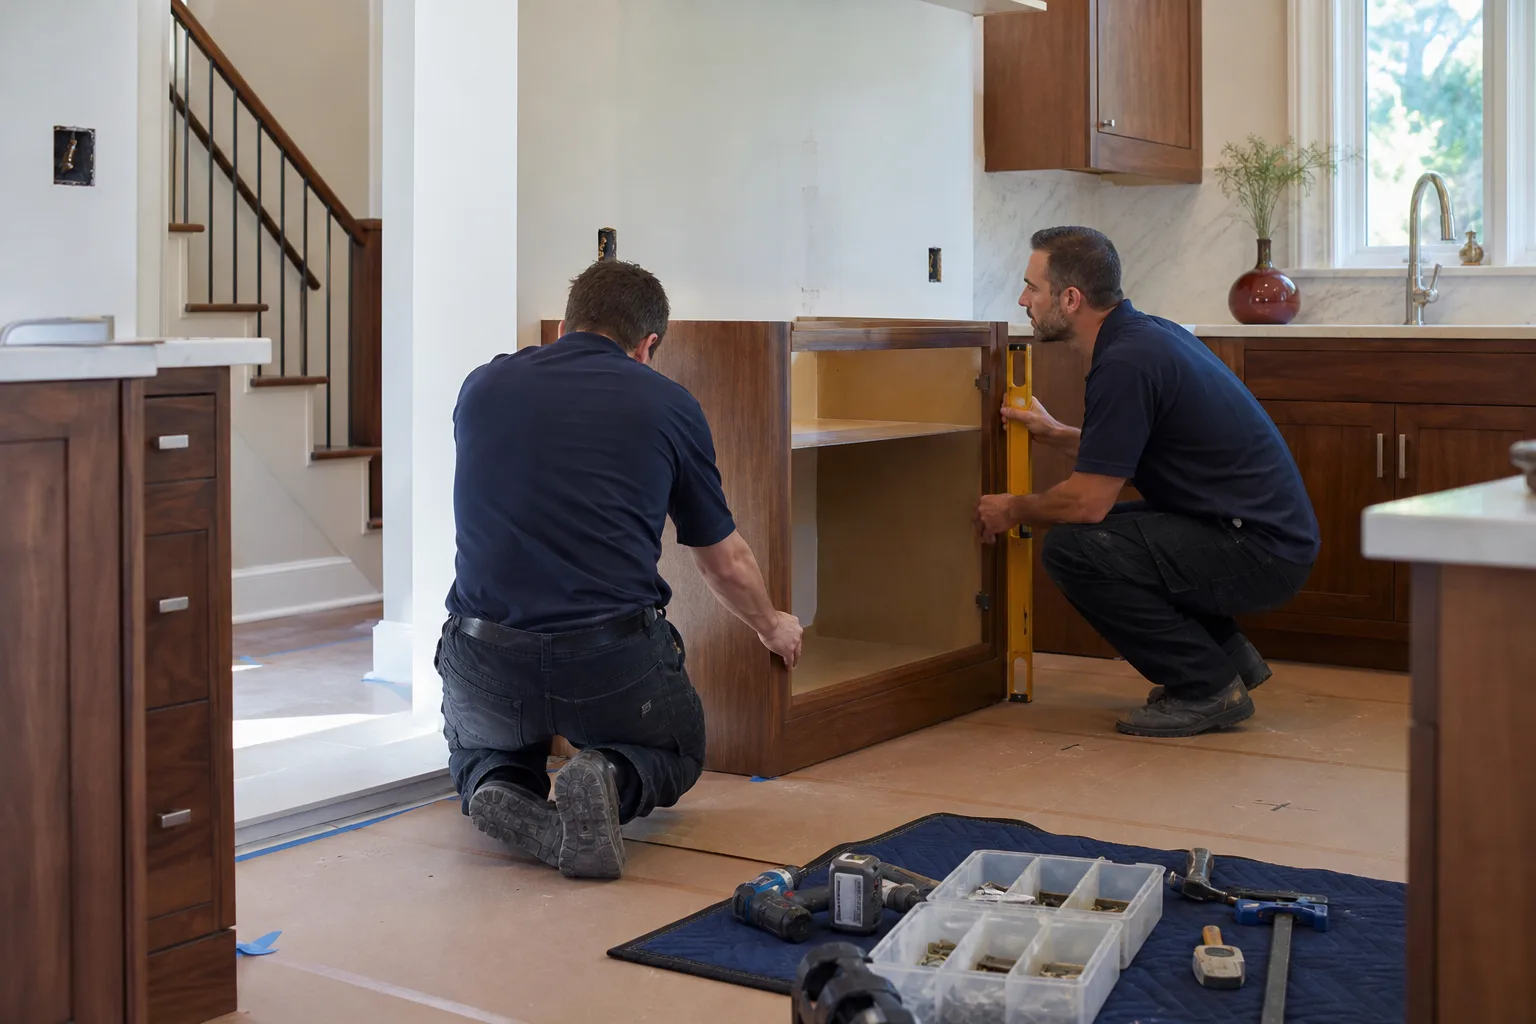
A single cabinet reshimmed and re-hung typically runs $150 – $400 depending on whether the cabinet has to come off the wall and whether the countertop has to come off with it. If you catch it during the cabinet install phase, before the countertop goes on, the fix is usually under an hour of labor. If you catch it after the countertop is templated and cut, the stone has to be re-cut or replaced, and that’s where the price jumps into the thousands. Call (888) 329-8145 for a free estimate and a written price before anyone touches the cabinet.
Cracked grout within six months usually points to a substrate problem, not a grout problem: the cement board wasn’t set over stable framing, or the seams between backer boards weren’t taped and filled correctly. Coastal humidity in Huntington Beach makes materials move more, so a compromised substrate telegraphs through to the tile faster here. Call (888) 329-8145 for a free estimate to have it inspected.
A proper template should show the exact sink and cooktop cutouts (matched to the real sink specs from your Kohler or Moen fixture), the overhang dimensions, where the seams will land, and the scribe allowance along the back wall. You should be able to review it and sign off on it before the slab is cut. Ask the fabricator to walk you through the measurements and seam placement, and get that review in writing. If the fabricator can’t explain the template, that’s the moment to slow down. Call (888) 329-8145 for a free estimate and a written quote on a new countertop.
No. A 365-Day Done Right Promise covers workmanship defects – things the crew installed that fail because of how they were installed – not normal material wear. A cabinet door that sags from a bad hinge set is covered; a countertop scratch from ordinary use isn’t. If a repair fails inside the guarantee window, the promise is a free return visit with no service call fee. Call (888) 329-8145 to talk through what’s covered on a specific issue.
A typical full kitchen remodel in Huntington Beach runs 6 – 10 weeks from demo to punch list, depending on cabinet lead times and whether you’re changing the layout. A cabinet-and-countertop refresh with no layout change can finish in 3 – 4 weeks. Cabinet lead times are the biggest variable: KraftMaid and Wellborn lines both run several weeks from order to delivery, so the estimate you get should show lead times as line items. Call (888) 329-8145 for a free estimate with a written schedule.
It shouldn’t. A written price before work starts is the number you hold the contractor to, and it’s the standard our work operates under: the number on day one is the number on the invoice. The one legitimate reason a number changes is a change order – you asked for something different mid-job, or rough-in uncovered a condition nobody could see (a past leak, a compromised wall). Those changes get a written change order before work resumes. Call (888) 329-8145 to get your free written estimate.
The Bottom Line
Almost every kitchen remodel problem you’ll read about online was preventable during the build, at the phase where it was still cheap. Check level and plumb before cabinets are ordered. Walk the rough-in. Review the countertop template before the stone is cut. Inspect the cabinet reveals and drawer glides while the installer is still on-site. Treat the punch list as your last free fix. And get the price and the guarantee in writing, before demo day, so the fixes you do need don’t turn into an argument. That’s the whole discipline, and it’s what we build our Huntington Beach work around.
If you’re planning a kitchen remodel or trying to fix something that’s already gone wrong, call Penhallow Remodeling Huntington Beach at (888) 329-8145 for a free estimate. A live person answers 24/7, every technician arrives background-checked and in uniform, and every job gets a written price and a written guarantee before work starts. We source materials from brands we’re willing to put our name behind – KraftMaid and Wellborn cabinetry, Cambria, Silestone and Caesarstone countertops, Kohler and Moen fixtures, James Hardie siding – and we stand behind all of it with the 365-Day Done Right Promise. If it’s not done right, we make it right.
Written by the team at Penhallow Remodeling Huntington Beach.