Last updated November 17, 2026







Free written scope consultation - allowances, timeline, and change-order rules on paper before a single trade is scheduled
Bathroom Remodeling Troubleshooting: Common Problems and How to Fix Them
The most expensive bathroom remodel problem we see is a failed shower waterproofing membrane, and it is completely invisible once the tile is set. By the time water stains appear on the ceiling below, the only window to catch that mistake has been closed for months. There is no way to inspect it from the surface. That single fact drives this entire guide: most post-remodel problems were visible during construction, if you knew what to look at and when. Here you’ll find a stage-by-stage inspection framework for Huntington Beach homeowners, the diagnostic steps that separate grout failure from membrane failure from a supply line leak, and the exact language to use when you file a warranty claim.
Quick Answer
Most bathroom remodel problems after renovation trace back to one of four failures: waterproofing membrane gaps, improper slope at the drain, insufficient ventilation, or movement behind the tile. The fix depends entirely on which one you have, and the diagnosis matters more than the repair. If a leak appears, shut off the water supply, photograph everything, and call your contractor before you touch the tile. A written guarantee means the return visit should cost you nothing.
Styles & brands we work with
- Kitchen remodeling
- Bathroom remodeling
- Home additions & ADU
- Roofing
- Windows & doors
- Driveway & pavers
- Fence
Table of Contents
- The Pre-Tile Inspection: What to Check Before Any Tile Goes Up
- How to Diagnose a Post-Remodel Leak: Grout, Caulk, Membrane, or Supply Line
- Tile Lippage: Cosmetic Acceptance or Workmanship Defect?
- Ventilation Problems That Surface 6 to 12 Months Later
- How to Document and Submit a Warranty Claim in Writing
- Why Huntington Beach Bathrooms Fail Differently
- Repair or Redo? Deciding What a Problem Actually Requires
The Pre-Tile Inspection: What to Check Before Any Tile Goes Up
We ask homeowners to walk the bathroom with us after the rough-in stage and before the first tile is set. That twenty-minute walkthrough is the highest-value inspection of the entire project, because after tile goes up, most of what matters is sealed under cement board and thinset. If you’re working with a bathroom remodeling contractor in Huntington Beach, ask for this walkthrough in writing before work starts so it isn’t skipped on a busy week.
Here’s what to look for, in order:
- Substrate. The cement board substrate (the moisture-resistant layer behind your tile) should be fastened with no soft or spongy spots and no gaps wider than the manufacturer allows at seams. Press on it with your palm. It should feel solid, not flex.
- Waterproofing membrane. In a shower, the membrane is a liquid-applied or sheet product that sits behind or under the tile. It should be a continuous color with no thin spots, no pinholes, and no skips at corners. Ask to see it before tile and photograph it yourself.
- Drain flashing. The drain flange should be embedded in the membrane with no visible gap, and the membrane should lap over the flange evenly around the whole circumference.
- Shower pan slope. Water should move toward the drain without pooling. Have the contractor pour a small test amount and watch it travel.
- Wall board transitions. At the shower edge and at the tub-to-wall junction, the membrane should turn up the wall, not stop flush with the floor.
- Niche and bench details. These are the most common leak points. The membrane should wrap the entire niche and any bench seat, with no seams left unsealed.
Take smartphone photos at every step. Those images become your baseline if a problem appears later. We include this photo set as part of the written project record, and homeowners who have it are the ones who can prove what was installed and when. It’s also standard practice on jobs we run through our general contractor in Huntington Beach service, where several trades overlap on the same bathroom.
How to Diagnose a Post-Remodel Leak: Grout, Caulk, Membrane, or Supply Line
The fix and the responsibility are completely different for each leak source, so the first job is diagnosis, not repair. Here’s how we walk a homeowner through it.
Step 1: Stop the water and document
Shut off the supply valves under the vanity or at the main, then photograph the wet area before you do anything else. Note the date you first saw it and whether it appeared after a shower, after flushing, or on a dry day. That timing is the single biggest clue.
Step 2: Test the grout
Grout failure shows up as a leak after a shower that fades over an hour or two. Small cracks in grout lines at the shower floor or lower wall let water past the surface. This is usually a maintenance item, not a contractor defect, if the grout cracked after the first year of use.
Step 3: Test the caulk
Caulk failure is the most common cause of a leak at the tub-to-wall or shower-to-floor transition. Run a fingertip along the caulk line. If it’s pulling away, cracking, or lifting, water is getting behind it. Caulk is meant to be replaced every few years.
Step 4: Check the supply line
A supply line leak is a steady drip that doesn’t depend on shower use. It appears under the sink, at the toilet, or where the line runs to the shower valve. Look under the vanity for moisture on the cabinet floor. Supply line failures are plumber or fixture issues, and Kohler or Moen fixtures carry their own warranties alongside the installation guarantee.
Step 5: Rule in or out the membrane
If water appears on the ceiling below the bathroom or seeps from the shower floor edge regardless of grout and caulk condition, the membrane is the likely source. Membrane failure almost always means the tile and shower pan come out. This is the one diagnosis you don’t want, and it’s exactly why the pre-tile walkthrough matters.
Tile Lippage: Cosmetic Acceptance or Workmanship Defect?
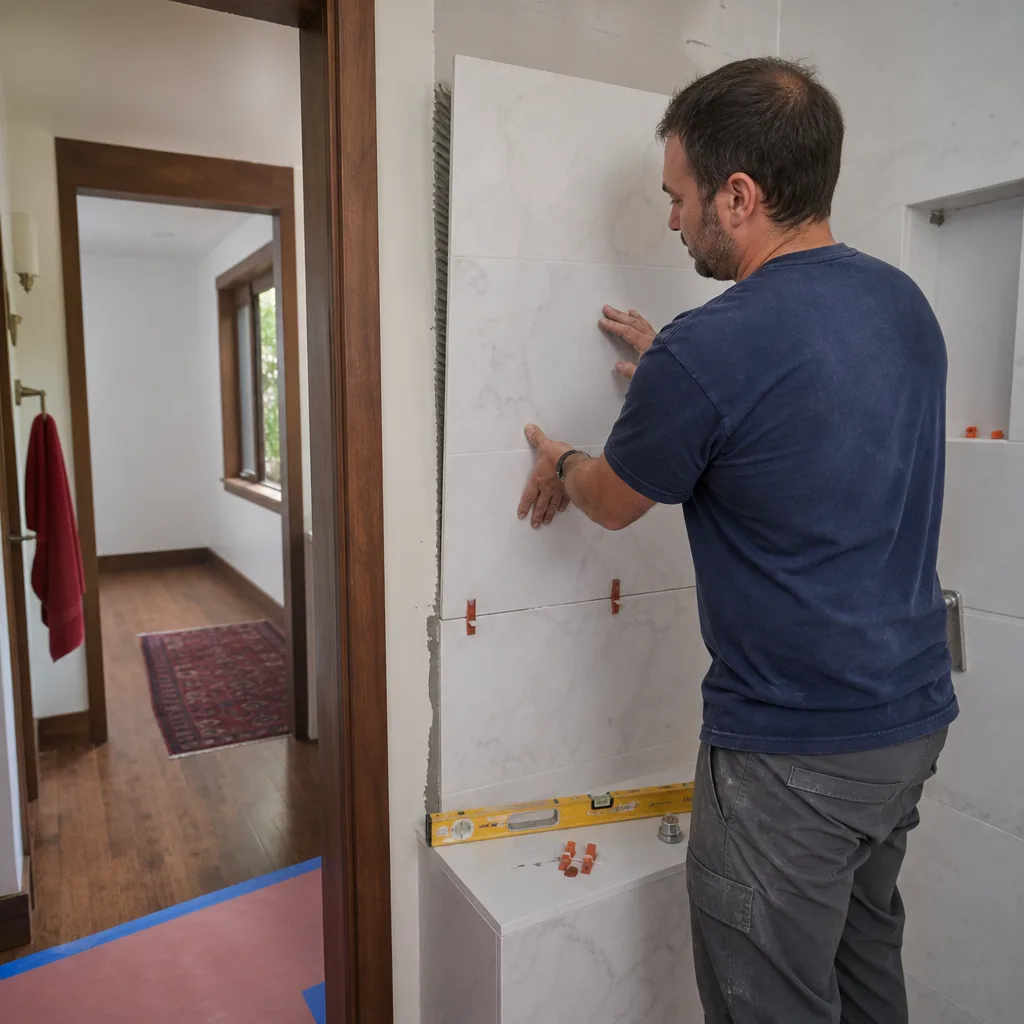
Tile lippage is when the edge of one tile sits higher than its neighbor, creating a step you can feel with your hand. Some lippage is unavoidable: natural stone and large-format tile have slight dimensional variation, and the industry standard allows a small tolerance measured in fractions of a millimeter. Beyond that tolerance, it’s a workmanship issue.
The tricky part is timing. If you accepted the layout and saw the tile before grout, the lippage may be a cosmetic call you made. If the tile was installed with visible step-offs you never saw until grout was complete, that’s a defect worth raising.
- Within tolerance: You can feel a faint edge under bare feet but it doesn’t catch on a sock or a fingertip. Usually cosmetic.
- Outside tolerance: A coin or fingernail catches on the edge. Worth a conversation and a documented photo.
- Lippage paired with hollow-sounding tile: This is a bonding failure under the tile, not just a surface issue. Hollow sound means the thinset didn’t grip and the tile should come out.
- Lippage at the shower floor or curb: Even small step-offs here can trap water and accelerate grout and caulk failure. Treat it more seriously than a wall step-off.
In our experience, the honest way to handle lippage is to raise it before grout is finished. Once grout is in, removing a single tile without disturbing its neighbors is a careful job, and the conversation should be about the fix, not blame. If a Huntington Beach bathroom was installed with porcelain plank or a large-format tile, ask specifically what the installer’s lippage tolerance was.
Ventilation Problems That Surface 6 to 12 Months Later
Ventilation failures are slow. Nothing looks wrong at handover. Then, six to twelve months in, you notice mold in the corners near the floor, paint peeling above the shower, or vanity doors that no longer close squarely because the wood has swelled. In our experience, more Huntington Beach bathroom complaints trace to inadequate exhaust than to any single tile defect.
The key diagnostic question is: is this a contractor issue or a homeowner maintenance failure?
- Contractor issue: The exhaust fan vents into the attic instead of outside. The fan is undersized for the room’s cubic volume. The fan runs but the duct is crushed or disconnected. No make-up air can enter because the room is sealed tight.
- Homeowner maintenance: The fan is clean but rarely used. The homeowner showers with the door sealed and no window open. The fan filter or grille is clogged with dust. The old grille hasn’t been replaced since installation.
The fix for a contractor-side ventilation problem is usually a return visit to re-route the duct or upgrade the fan. The fix for a maintenance problem is a cleaning schedule and a habit change. The two look identical from the mold stain, so it’s worth checking both before you call. A quick test: hold a tissue against the fan grille. If it flutters, the fan is moving air. If it hangs flat, the fan isn’t pulling and a contractor should look at the duct.
How to Document and Submit a Warranty Claim in Writing
A warranty claim only gets taken seriously when it is specific, dated, and photographed. Vague phone calls produce vague responses. Follow these steps.
- Photograph the problem in context. Take a wide shot showing the whole bathroom, then a close-up of the defect, then a photo with a tape measure or coin for scale. Include at least one dated photo per day until the contractor responds.
- Write a timeline. Note the date the bathroom was completed, the date you first noticed the problem, and every date you called or emailed. A short list is enough.
- Identify the problem in plain terms. “Water stains appeared on the ceiling below the shower on June 3 and have grown each day” beats “the shower is leaking.”
- Reference the guarantee. State that the work is covered under the written guarantee and name the specific promise: in our case, the 365-Day Done Right Promise, which means if the work fails inside the guarantee period we come back and fix it at no charge.
- Ask for a written response. Request a return-visit date and a description of the proposed fix in writing. Save the email.
- Keep the written price. The original written price is the document that proves what was installed. A written price before any work starts is worth more than a year of memory.
The language that gets a claim taken seriously is neutral and factual: “The defect appeared on this date and these photos show it.” A claim that reads like an accusation is harder to resolve. A claim with dates and photos usually gets a scheduled visit within a week.
Why Huntington Beach Bathrooms Fail Differently
Huntington Beach sits close enough to the coast that humidity stays high most of the year, and bathrooms here deal with more moisture than inland homes. That matters for two reasons. First, exhaust ventilation has to work harder and is often undersized. Second, caulk and grout fail faster here than in dry climates, so a caulk line that would last five years in the desert can start peeling in two near the coast.
We also see specific failure patterns in certain neighborhoods. Mid-century homes in Huntington Beach often have small bathrooms with a single window and no exhaust fan, which means moisture has nowhere to go. Homes near the beach with original single-pane windows fog heavily in winter, and the condensation feeds mold in corners. Newer builds with tight envelopes need make-up air for the fan to work at all, which many installers miss.
When you schedule an estimate in Huntington Beach, ask your contractor to assess ventilation and caulk durability for the coastal climate, not just the tile layout. A bathroom that looks beautiful in August may have mold in the corners by February if the fan and caulk choices weren’t matched to the humidity here.
Repair or Redo? Deciding What a Problem Actually Requires
Not every post-remodel problem needs a full tear-out. Match the fix to the diagnosis.
- Failed caulk: Repair. Re-caulk the joint. This is a maintenance job, but a good contractor will do it cheaply or as a courtesy under the guarantee.
- Cracked grout: Repair. Re-grout the cracked lines. Watch for recurrence; if it comes back in the same spot, look behind it.
- Tile lippage within tolerance: Cosmetic. A polish or accept and move on.
- Tile lippage outside tolerance with hollow sound: Repair tile by tile. The failed tile comes out and is reset.
- Supply line leak: Repair. Replace the line and any damaged cabinetry beneath.
- Membrane failure: Redo. The shower pan and tile typically have to come out to address it correctly.
- Drain slope problem: Redo or repair depending on severity. Water pooled at the drain edge is usually a re-set of the pan, not the whole bathroom.
The most expensive mistake is redoing a bathroom to fix a problem that was a caulk failure. The second most expensive is repairing caulk when the membrane has failed and the water is already in the ceiling. That’s why the diagnostic steps above are worth the five minutes: a right diagnosis saves thousands. When we quote a bathroom remodel in Huntington Beach, we walk homeowners through this decision tree at the pre-tile inspection so they know the difference before the tile is set.
Common Mistakes to Avoid
- Skipping the pre-tile walkthrough. If you never see the substrate and membrane before tile, you have no way to confirm what was installed. Ask for it in writing when you sign the contract.
- Acing the blame at the grout. Grout cracks are usually surface problems. Water on the ceiling below is not a grout issue, and treating it as one wastes time while the damage spreads.
- Running the exhaust fan only when showering. Run it for 20 to 30 minutes after the shower ends. In Huntington Beach humidity, that extra time matters more than inland.
- Writing the warranty claim in anger. A factual claim with dates and photos gets scheduled. A heated email gets ignored. Keep the documentation calm and precise.
- Accepting lippage after grout. Raise it before grout sets. Once grout is in, you lose the cleanest window to fix it without disturbing neighboring tile.
- Assuming the fault is the contractor’s when it’s maintenance. Caulk and grout are wear items in a coastal climate. A good contractor explains that up front so it isn’t confused with a defect later.
- Never photographing the rough stage. A single phone photo of the finished membrane can save a week of argument. It’s the cheapest insurance on the project.
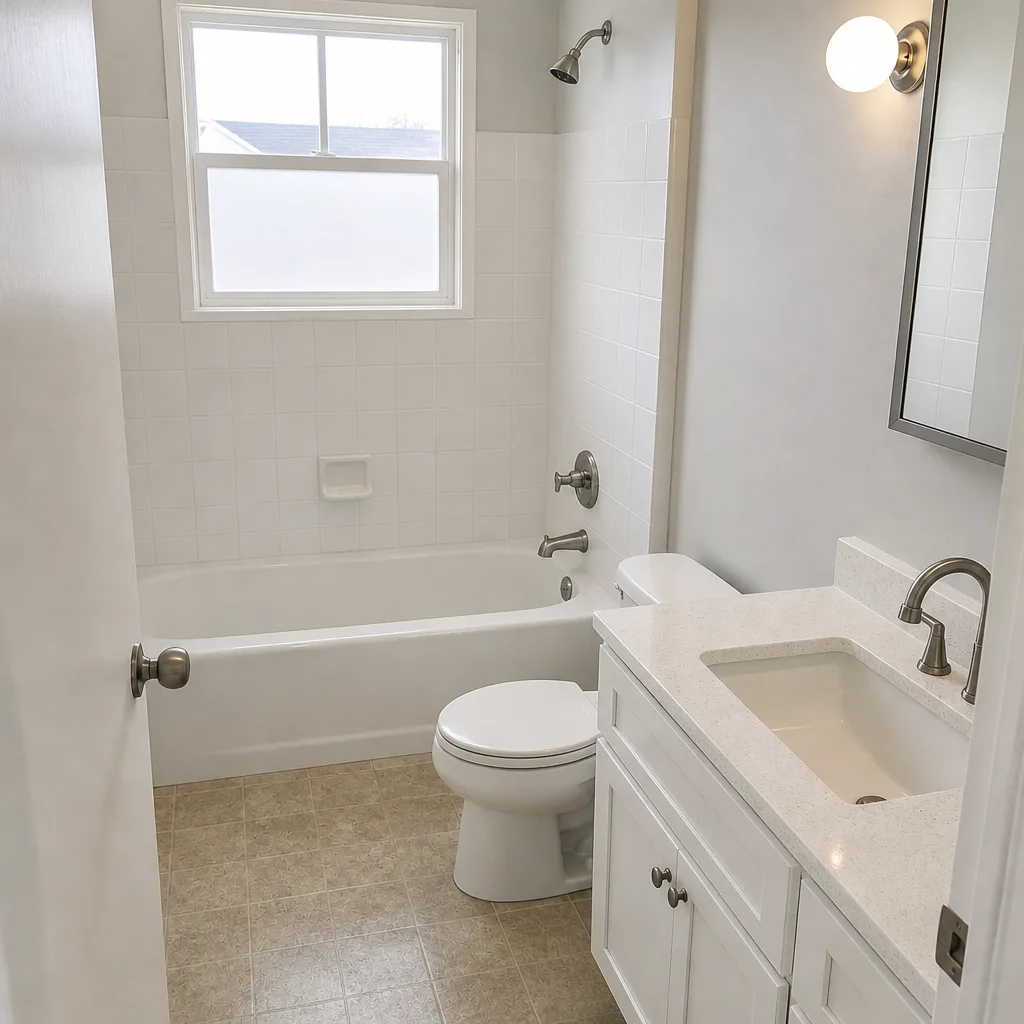
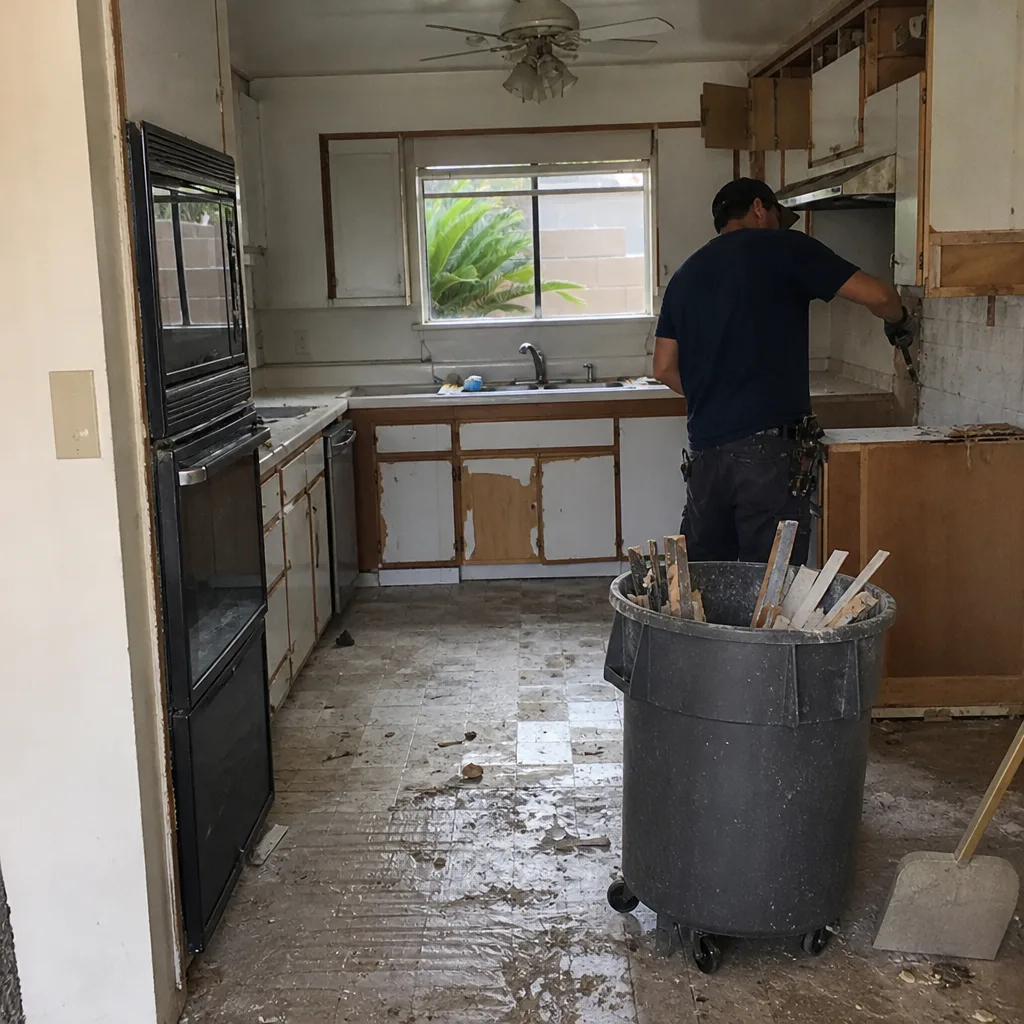
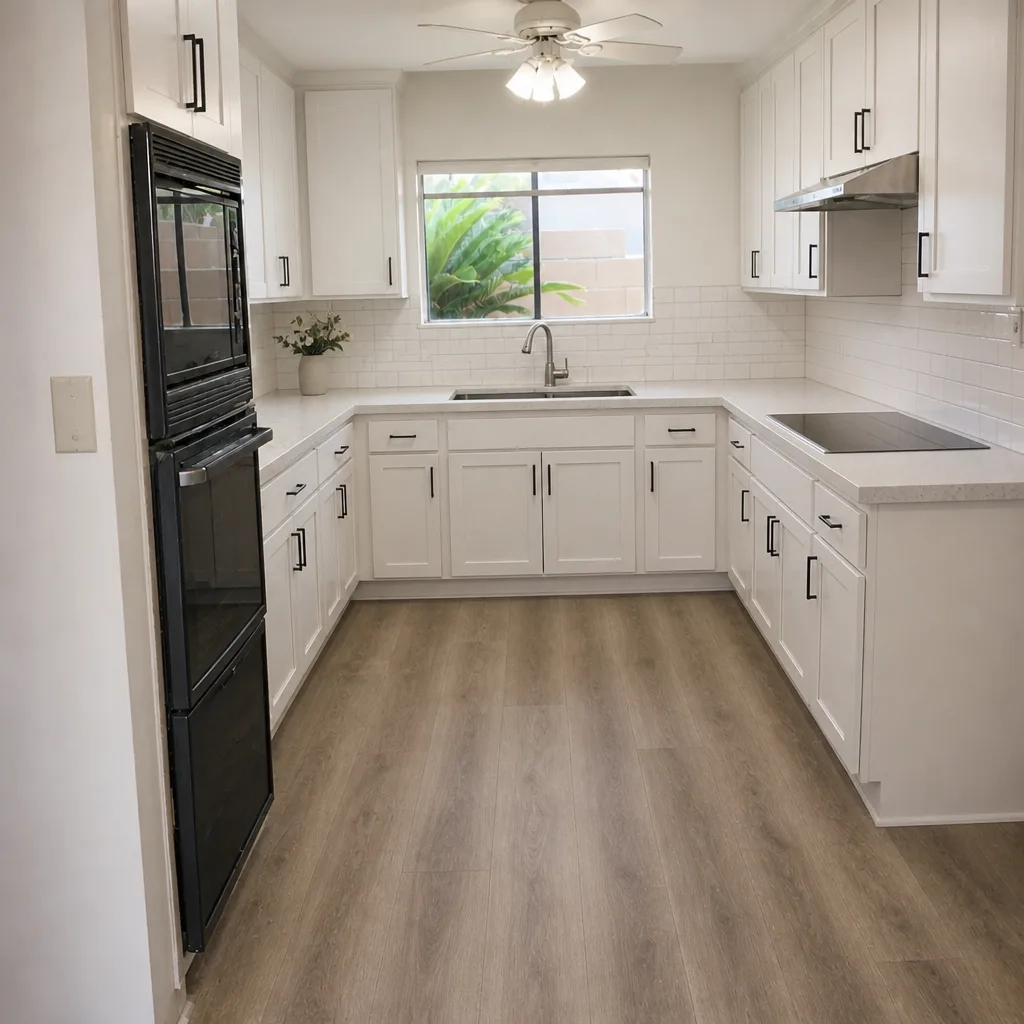
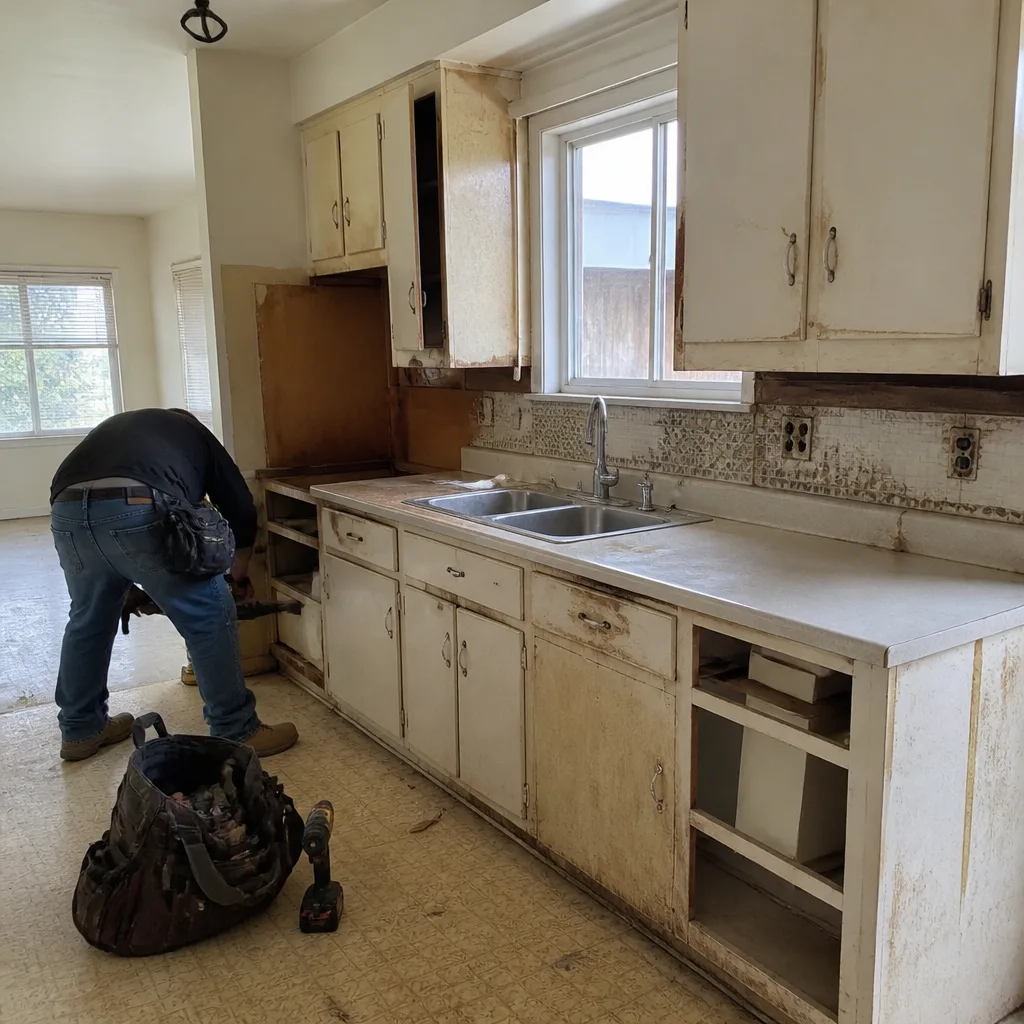
See the difference
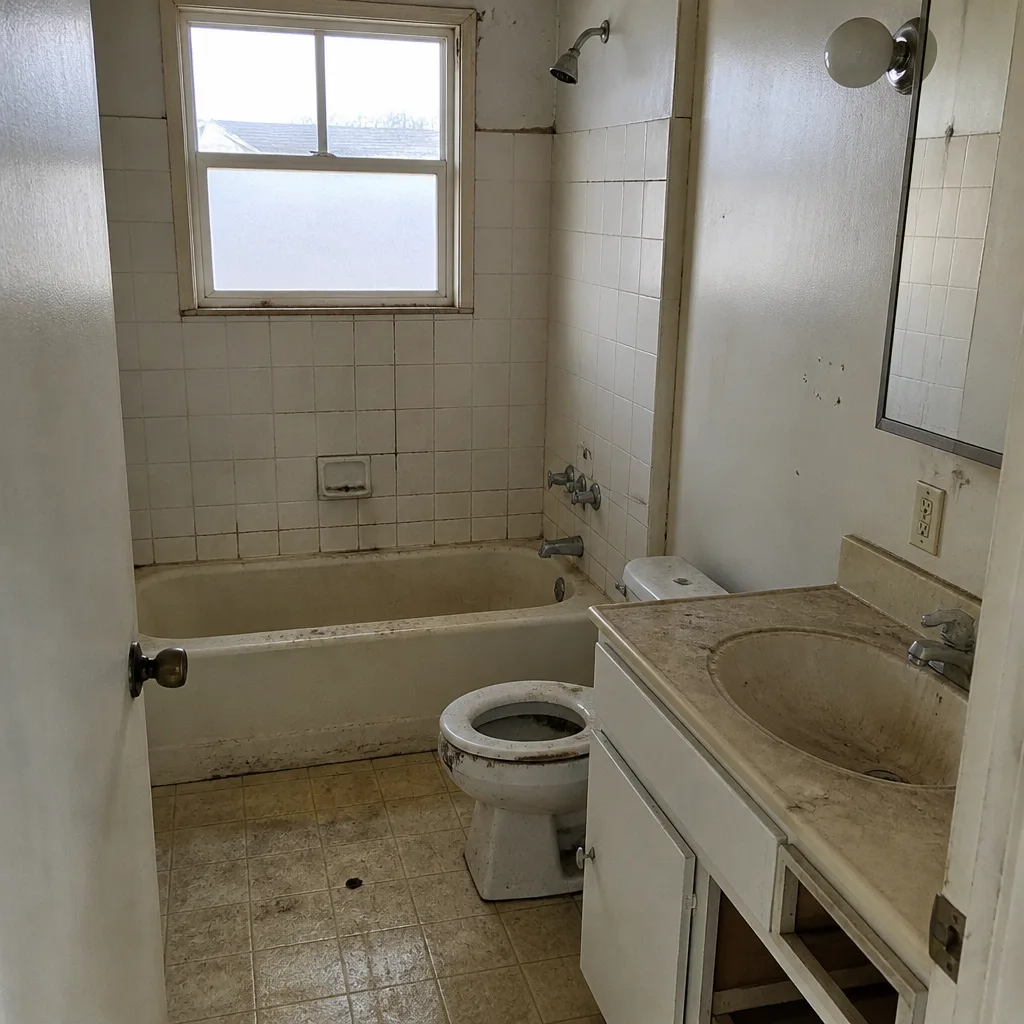 Before
 After
 Before
 After
 Before
 After
When to Call a Professional
Call a professional when the diagnosis points to anything behind the tile, anything involving water where it shouldn’t be, or anything that has recurred after a repair. Specifically: water on the ceiling below the bathroom, a shower that drains slowly despite a cleared drain grate, mold that returns within weeks of cleaning, a caulk line that keeps opening in the same place, or a fan that runs but doesn’t move air. Those are not maintenance items, and a call is cheaper than waiting. If the bathroom was remodeled by someone else and you don’t have a guarantee, a diagnostic visit will tell you what’s actually failing before you commit to a fix. Our technicians have up to 22 years of experience diagnosing exactly these problems. Penhallow Remodeling Huntington Beach offers free estimates in Huntington Beach and will take a look before you spend on anything. Call (888) 329-8145 to schedule your free estimate.
Frequently Asked Questions
Waterproofing membrane failure is the most common and most expensive problem after a bathroom remodel, followed by caulk failure and ventilation problems. The membrane is invisible after tile is set, so the only reliable check is the pre-tile inspection. If you have a shower leak and a written guarantee, file the claim in writing with dated photos. Call (888) 329-8145 for an exact quote on the fix – estimates are free.
A grout leak appears after showering and fades over an hour; a membrane leak leaves water on the ceiling below regardless of shower use. If water shows up on the ceiling below the bathroom, suspect the membrane and call a professional before you touch the tile. Call (888) 329-8145 to schedule a free estimate on the diagnosis and repair.
No, if the price is in writing before work begins. A written price before any work starts is exactly what protects you from the number changing after demo. Ask for the written number on day one and compare it to the invoice at the end. A contractor who won’t put a price in writing is not one to hire. Call (888) 329-8145 for a written estimate on any bathroom repair.
Yes, permitted work should be pulled for a bathroom remodel that moves plumbing, electrical, or a shower pan, and Huntington Beach inspectors check those rough-ins before tile. Your permit record is also useful if you ever sell the home. Ask your contractor for the permit number before work starts. Call (888) 329-8145 to talk through what your project requires.
Tile lippage is a step between two tile edges; small lippage within industry tolerance is cosmetic, while lippage you can catch a fingernail on is typically a workmanship issue worth documenting. Raise it before grout is finished, with photos. Call (888) 329-8145 if you need a second opinion on an existing install.
Small repairs like re-caulking or replacing a supply line usually take a single visit, while a shower pan reset or membrane redo takes several days to a week or more depending on tile. The written estimate should state the timeline up front. Call (888) 329-8145 for a free estimate and an honest timeline on your specific fix.
The Bottom Line
Most post-remodel bathroom problems were visible during construction, and the cost of missing them is measured in thousands, not hundreds. The pre-tile inspection is the one window that catches membrane failures, drain slope problems, and substrate issues before they’re sealed away. After the tile is in, the diagnostic order matters: check grout, then caulk, then supply lines, then the membrane, because the fix and the responsibility are different for each. Document any claim in writing with dated photos, and hold your contractor to the written price and written guarantee. If you’re planning a bathroom in Huntington Beach, get the walkthrough on the schedule. It’s the cheapest part of the project.
Penhallow Remodeling Huntington Beach operates under The Kingswell Way: say the price before the work, show up in the window we gave, and leave the place cleaner than we found it. Every job gets a written price before work starts, a background-checked and uniformed technician, and the 365-Day Done Right Promise in writing. A live person answers our phone around the clock, so you’re never routed to voicemail when a leak appears. We install materials from recognized brands like Kohler, Moen, Cambria, and Therma-Tru, so the products behind the guarantee are as solid as the promise. When a repair fails inside the guarantee period, we come back and fix it at no charge, including a free second visit with no service call fee. Call (888) 329-8145 to schedule your free estimate. Whether you’re comparing us to another general contractor or trying to diagnose a problem in a bathroom someone else built, we’re happy to give you a written number first. Every Penhallow location is independently owned and operated as part of the Kingswell family of companies. For a broader view of how we run projects end to end, see Penhallow Remodeling Huntington Beach home and our kitchen remodeling in Huntington Beach page if you’re planning a refresh on both rooms.
Written by the team at Penhallow Remodeling Huntington Beach.