
Last updated November 17, 2026








Free written scope consultation - allowances, timeline, and change-order rules on paper before a single trade is scheduled
General Contractor Maintenance Schedule: What to Do and When
The most expensive repair we see in Huntington Beach isn’t the one nobody planned for. It’s the one that sat there, quiet and cheap to fix, through every day of a 365-day workmanship guarantee. Here’s the counterintuitive part about a remodel: the day the crew pulls out isn’t the finish line. It’s the first day of a maintenance window. New materials move, settle, shrink and swell, and the small signs that show up in the first three months tell you exactly which parts of your home need watching. Most homeowners skip that window and call us a year later about something a $9 tube of caulk would have prevented. This guide is our maintenance schedule: what to inspect after a renovation, when each task matters, and how to document it so a warranty claim, a resale disclosure, or a slow leak never catches you off guard. We’ve built hundreds of kitchens, baths and whole-home projects through our general contractor work in Huntington Beach, and these are the tasks that actually move the needle.
Styles & brands we work with
- Kitchen remodeling
- Bathroom remodeling
- Home additions & ADU
- Roofing
- Windows & doors
- Driveway & pavers
- Fence
Quick Answer
After a remodel, your highest-value maintenance is a 30-day, 90-day and 180-day walkthrough to catch settling and shrinkage, then an annual pass each fall covering caulk, grout, expansion gaps, exterior penetrations and window seals. Huntington Beach’s salt air and humidity swings speed up wear on painted trim, exterior fasteners and window seals specifically, so coastal homes need those items checked twice a year, not once. Document everything with dated photos; it protects both warranty claims and your resale file.
Table of Contents
- Why the First Year After a Remodel Matters Most
- The 30, 60 and 90-Day Post-Remodel Inspection
- Inspection Checklist by Trade: Framing, Plumbing, Electrical, Finishes
- The Annual Maintenance Tasks That Keep a Remodel Like New
- Coastal Huntington Beach Conditions and What They Attack First
- Homeowner Responsibility vs. Contractor Warranty Territory
- Build a Simple Photo Log for Warranty Claims and Resale
- Common Mistakes to Avoid
- When to Call a Professional
- Frequently Asked Questions
- The Bottom Line
Why the First Year After a Remodel Matters Most
New construction moves. That’s not a defect; it’s physics. Lumber dries and shrinks slightly, joint compound cures, caulk stretches as seasons change, and grout releases a little moisture for weeks after it sets. Nearly all of it happens in the first 12 months, which is exactly why a 365-Day Done Right Promise lines up with that window. The guarantee exists because this is the period when a small issue is still small.
Here’s what we’ve learned from hundreds of jobs: the homeowners who file successful warranty claims are rarely the ones with the biggest problems. They’re the ones who did a 30-day and a 90-day walkthrough and had a dated photo of the early sign. A hairline crack in a grout line, a door that sticks in June after a damp spring, a little bubbling paint on exterior trim near a window head: each of these takes minutes to note and often minutes to correct. Let them ride a year and you’re looking at a callback that’s bigger, murkier about cause, and sometimes outside the workmanship window. That’s the whole case for a maintenance schedule. The remodel gives you the best-built version of your home you’ll ever have. The first year decides whether it stays that way.
This applies everywhere, but it’s sharper in Huntington Beach, where marine air works on a house every single day rather than a few weeks a year. More on that below.
The 30, 60 and 90-Day Post-Remodel Inspection
Think of the first three months as three separate, quick passes. Each has a different job because different materials settle on different clocks.
- 30-day walkthrough. Check caulk joints at countertops, backsplashes, tubs and shower surrounds for separation or pull-away. Open and close every cabinet and interior door; note any that rub. Look at grout lines for cracks. Confirm every outlet, switch, light and fixture works as it did on day one. Photograph anything that looks off.
- 60-day check. This is when seasonal movement starts to show. Look for new cracks at drywall seams and where walls meet ceilings. Check tile grout again, especially on floors. Run water at every fixture and look under sinks and around the toilet base for moisture. Open windows and doors to see if any have begun to stick.
- 90-day review. By now most of the settling has happened. Recheck all caulk joints, scan exterior penetrations (hose bibs, vent hoods, dryer vents, exterior outlets) for gaps, and look at painted exterior surfaces for bubbling or flaking. Take a full set of photos of each room and each exterior wall.
None of these take more than 30 minutes if you work from a checklist. And if you do find something? Call us inside the guarantee window rather than waiting for the anniversary. That’s the whole point of the 365-Day Done Right Promise: if it’s not done right, we make it right, and a framed photo of an early sign is the cleanest possible case.
Inspection Checklist by Trade: Framing, Plumbing, Electrical, Finishes
Different trades fail in different ways, and knowing which is which helps you file a sensible claim instead of a guess. Here’s how we break it down for homeowners walking through a recent kitchen remodel in Huntington Beach or a full bath project.
- Framing and structure: Normal settling looks like a hairline crack at a drywall seam, a door that needs a light push, or a tiny gap where a wall meets trim. Not normal: a crack wider than a credit card, a floor that suddenly feels spongy, or a door that won’t close at all. Note the difference in your photo log.
- Plumbing: Check under every sink and around every toilet base monthly for the first quarter. A slow weep at a supply line or a loose drain gasket shows up as a faint mineral stain or a swollen cabinet floor. Look at the dishwasher and fridge water lines too. Water damage is the most preventable warranty issue and the most expensive one when missed.
- Electrical: Confirm every GFCI trips and resets, all breakers are labeled correctly, and outlets stay firm when you plug something in (loose ones can indicate a wiring term that needs a look). A regular flicker is worth a call; a single flicker on a light with a dimmer isn’t.
- Finishes: Grout, caulk, paint and hardwood. Look at caulk at every wet edge, grout on every tile surface, and paint where walls meet trim. Hardwood floors expand and contract seasonally; a 1/8-inch gap at a baseboard is normal, buckling or cupping is not.
If any of these look wrong, photograph them and call. That’s what the written guarantee on every job is for. And if you’re still planning work, our bathroom remodeling in Huntington Beach team can walk through the same inspection logic for showers and wet areas, which take the hardest wear of any room.
The Annual Maintenance Tasks That Keep a Remodel Like New
Once the first-year settling has passed, you drop into a yearly rhythm. We recommend a single fall pass so you’re heading into winter with everything tight, plus a lighter spring walkthrough outside.
- Recaulk wet joints. Tub, shower surrounds, kitchen backsplash, and where the countertop meets the wall. Old caulk pulls away silently, water gets behind it, and that’s how you get soft substrate. Cut out the old, clean the joint, and use a siliconized caulk rated for wet areas.
- Seal grout. Grout is porous. A sealer every 12-18 months keeps it water-resistant and keeps the color from going dull, especially on floor tile in a busy kitchen.
- Check expansion gaps. Where flooring meets a wall or a cabinet toe kick, there should be a small gap hidden under trim or baseboard. If the floor is pushing against a wall, you’ll see cupping or buckling. Note it early.
- Inspect exterior penetrations. Hose bibs, dryer vents, exhaust hoods, exterior outlets, and the base of any siding. Each is a potential water path. Fresh sealant there costs a few dollars; the water damage behind it costs thousands.
- Look at window seals. Run a hand along the frame and check the glazing compound and weatherstripping. A soft spot or a draft means water is getting in.
- Test smoke and CO detectors, replace HVAC filters, and drain the water heater. These aren’t remodel-specific, but a maintenance schedule that ignores them isn’t a maintenance schedule.
If your exterior was updated with Penhallow Remodeling’s Huntington Beach home services, James Hardie siding is a common choice precisely because it holds up to coastal air better than wood or plain vinyl, but it still needs the penetrations and caulk joints checked. The material buys you margin; the inspection keeps it.
Coastal Huntington Beach Conditions and What They Attack First
If you live west of Beach Boulevard, you know the salt air is real. Homes near the pier, along Pacific Coast Highway, in Sunset Beach, and up in the bluffs all share a condition that inland neighborhoods don’t: constant marine moisture with heavy swings between foggy mornings and dry, sunny afternoons. That cycle is what wears out a house fastest.
Here’s what it attacks first:
- Painted trim and wood. The marine layer leaves moisture on exterior surfaces most mornings, then the sun dries it. Paint loses adhesion at the edges first. Check door frames, fascia and window trim for bubbling or flaking every spring.
- Exterior fasteners. Salt accelerates corrosion on nails, screws and any exposed metal. Look for rust streaks at exterior penetrations and where hardware meets siding.
- Window seals and glazing. Moisture finds the smallest gap in putty or weatherstrip and works its way in. Fogging between panes is an early sign.
- Wet-area caulk and grout. Indoor humidity runs higher in coastal homes (think of the way a bathroom never quite dries in June), so bathroom caulk and grout break down faster than the label promises.
Our practical rule for Huntington Beach: run the exterior checklist twice a year (spring and fall), and add a quick wet-area caulk check indoors once a year. Inland neighborhoods like those near Central Park can be a bit gentler; coastal homes need the extra pass.
Homeowner Responsibility vs. Contractor Warranty Territory
This is the question that causes the most friction after a remodel, and the answer is simple if the line is drawn before work starts. Our approach is to draw it in writing on day one.
- Contractor warranty territory (covered under the 365-Day Done Right Promise): workmanship failures, installation errors, materials that fail under their own warranty terms when properly installed, and any defect that traces back to how the work was done.
- Homeowner responsibility: routine maintenance (caulk, grout sealing, filter changes), damage from neglect or misuse, and normal wear and tear. A missed caulk joint isn’t a workmanship failure; it’s maintenance that wasn’t done. A leak that started at that joint is a maintenance issue that grew.
The cleanest way to keep this straight: write down your start date, your guarantee period, and the maintenance tasks you’ve completed with dates and photos. If something goes wrong and you can show you kept up with the routine items, the warranty conversation becomes a five-minute call instead of an argument. Our written guarantee on every repair, and the free return visit if a repair fails, both rely on that documentation being in place. So does the fact that every technician arrives background-checked and in uniform. You know whose hand was on the work, which makes the warranty claim easy to trace.
Build a Simple Photo Log for Warranty Claims and Resale
A photo log takes about five minutes per walkthrough and pays for itself twice: once at a warranty claim, once at resale. You don’t need special software. A dated folder with a consistent naming pattern is enough.
- Pick a folder structure. One folder per year, with subfolders for each walkthrough (30-day, 90-day, annual). Label every photo with the room and the date.
- Take wide and close shots. A wide photo of the whole bathroom, then a close photo of the specific caulk joint or grout line. This gives context and detail.
- Log the maintenance you did. A simple text file or note that says “October 12: recaulked primary shower, sealed kitchen backsplash grout, checked exterior hose bibs.” This is the record that proves you did the routine tasks.
- Note anything you flagged to watch. A door that squeaks in July but not January belongs in the log so you can see the pattern.
- Keep the file for both warranty and resale. When you sell, a bound maintenance log tells buyers the home has been cared for. That’s worth real money at the negotiating table.
Your photo log is also your fastest path to a clean warranty conversation. If a repair fails, our free return visit means we come back without a service charge. Showing us the dated photo of the original install and the drift since just makes the whole thing faster.
Common Mistakes to Avoid
- Skipping the 30 and 90-day walkthroughs. These are the two cheapest inspections you’ll ever do. Miss them and you’re filing claims with no record of when the problem started.
- Letting a small caulk gap ride. In coastal Huntington Beach, water behind a tub surround can reach soft substrate in a matter of months. A ten-dollar tube of caulk is the cheapest insurance you have.
- Treating normal settling as a defect. Hairline cracks at drywall seams and slightly sticking doors in the first year are normal. Widening cracks and doors that stop closing are not. Know the line.
- Confusing maintenance with warranty. If the cause traces to a missed maintenance task, it falls outside warranty. Keep the log and the answer becomes obvious.
- Ignoring exterior penetrations. Hose bibs, vent hoods and dryer vents get a pass in most homes. On the coast, they’re where water gets in first.
- Never photographing the work. A dated photo log is worth more than any verbal recounting when a warranty claim comes up, and it doubles as resale documentation.
- Waiting for an “annual” that never arrives. Put a reminder on the calendar for a fall inspection and a spring exterior pass. Actually scheduling it is half the job.
When to Call a Professional
Some of this list is genuinely homeowner work: caulk, sealing grout, checking a window seal, changing a filter. Some of it is not. Call us if you find a soft spot in a wall or floor, water staining under a sink, a crack that reaches wider than a credit card, a door that won’t close, water between window panes, or anything at an exterior penetration that looks like it’s been letting water in. Electrical issues like loose outlets or flickering circuits belong with a professional too. And if it’s a warranty question, call early rather than late; the 365-Day Done Right Promise exists to cover exactly these situations, and the earlier we see it, the simpler it gets. Penhallow Remodeling Huntington Beach offers free estimates in Huntington Beach. Call (888) 329-8145.
Frequently Asked Questions
Inspect at 30, 60 and 90 days after the work is finished, then run one thorough annual check each fall with a lighter exterior pass each spring. Coastal Huntington Beach homes should do the exterior pass twice a year because salt air and humidity swings accelerate wear. The first-year walkthroughs catch almost all normal settling while it’s still cheap to address.
Normal settling looks like a hairline crack at a drywall seam, a door that needs a light push in humid weather, or a small gap where a wall meets trim. A real problem looks like a crack wider than a credit card, a floor that feels spongy, or a door that won’t close at all. Photograph it either way; the record tells you which it is over time. Call (888) 329-8145 if you’re unsure.
No. The promise covers workmanship failures and installation errors; routine maintenance like caulk, grout sealing and filter changes stays with the homeowner. The line matters because it’s what lets us make a clean warranty claim when the cause is genuinely ours. If it’s not done right, we make it right, and our free return visit makes a failed repair easy to resolve.
The marine layer, salt air and daily wet-to-dry cycles wear out painted trim, exterior fasteners, window seals and wet-area caulk faster than a comparable home a few miles inland. Check those four categories twice a year indoors and out. If you’re near Pacific Coast Highway or Sunset Beach, that schedule isn’t optional; it’s the baseline.
A dated photo log and maintenance record tells a buyer the home was cared for, which is worth real money at the negotiating table. It also answers resale disclosure questions with facts instead of memory. A few minutes of documentation each year turns a piece of paper into a selling point.
Caulk, grout sealing, filter changes and photo documentation are homeowner tasks you’ll save money doing. Structural cracks, plumbing leaks, water intrusion, window seal failures and electrical concerns belong with a licensed professional. If you’re not sure which bucket something falls in, photograph it and call. A free estimate answers the question without any obligation.
The Bottom Line
A remodel is the start of a maintenance window, not the end of one. The 30, 60 and 90-day walkthroughs catch settling while it’s cheap, the annual pass keeps the finish work tight, and the photo log protects both your warranty claim and your resale file. In Huntington Beach, salt air and humidity make the exterior pass twice a year, not once. The homeowners who get the most out of their remodel are the ones who schedule the checks and write down what they find. The ones who miss warranty coverage almost always skipped the early walkthroughs. If you’re not sure what you’re seeing, call us early and let the guarantee do its job.
If you’re planning a kitchen, bathroom or whole-home renovation in Huntington Beach and want a written price before work starts, a real 365-day workmanship guarantee, and a maintenance schedule built for the coast, our team will walk you through it in plain terms. Call (888) 329-8145 for your free estimate and a written scope you can hold us to.
Written by the team at Penhallow Remodeling Huntington Beach.
See the difference
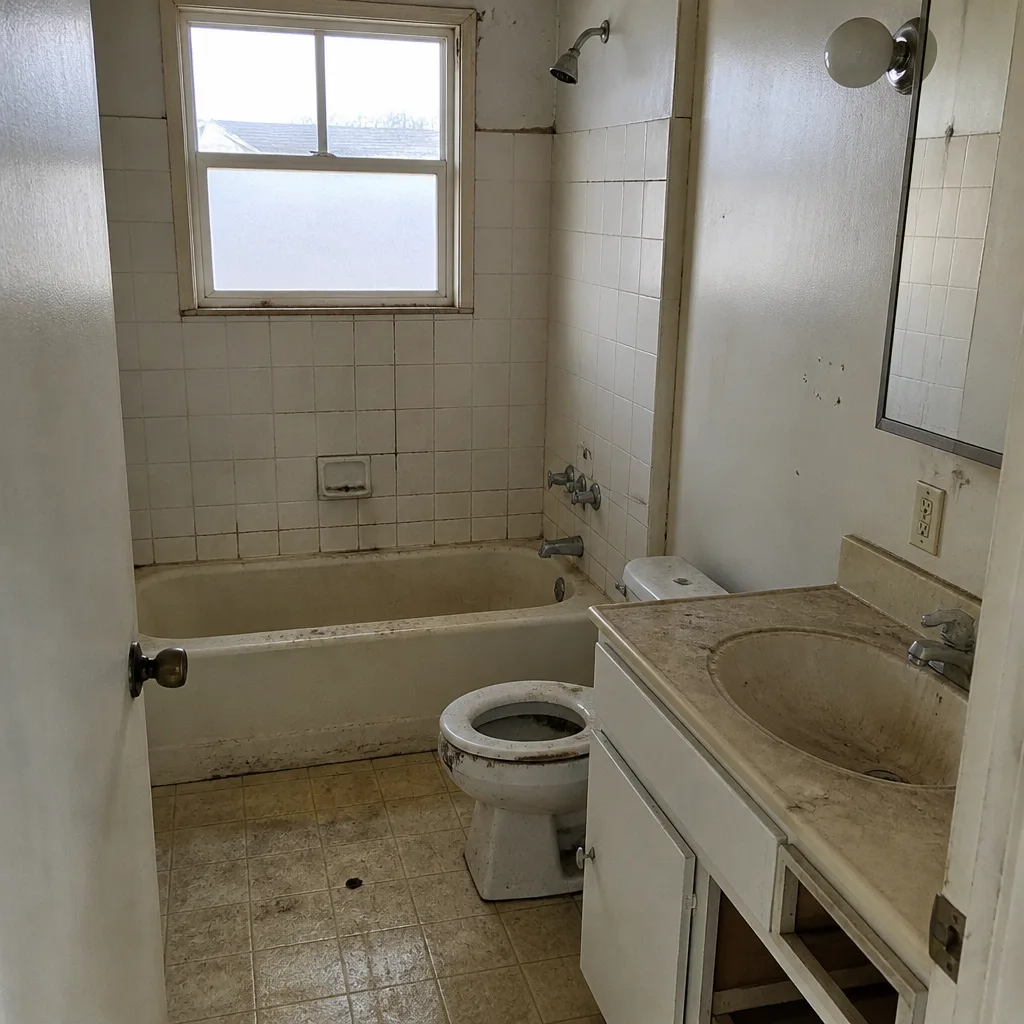 Before
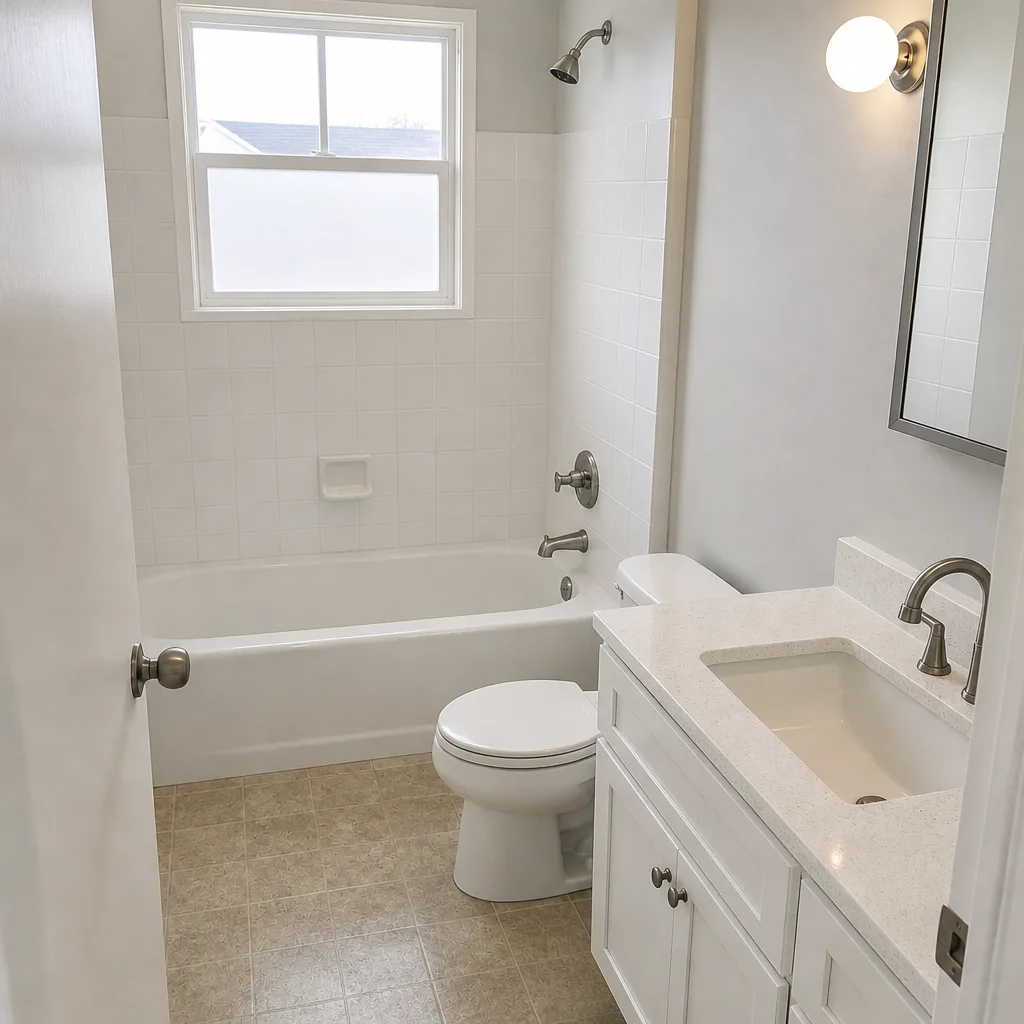 After
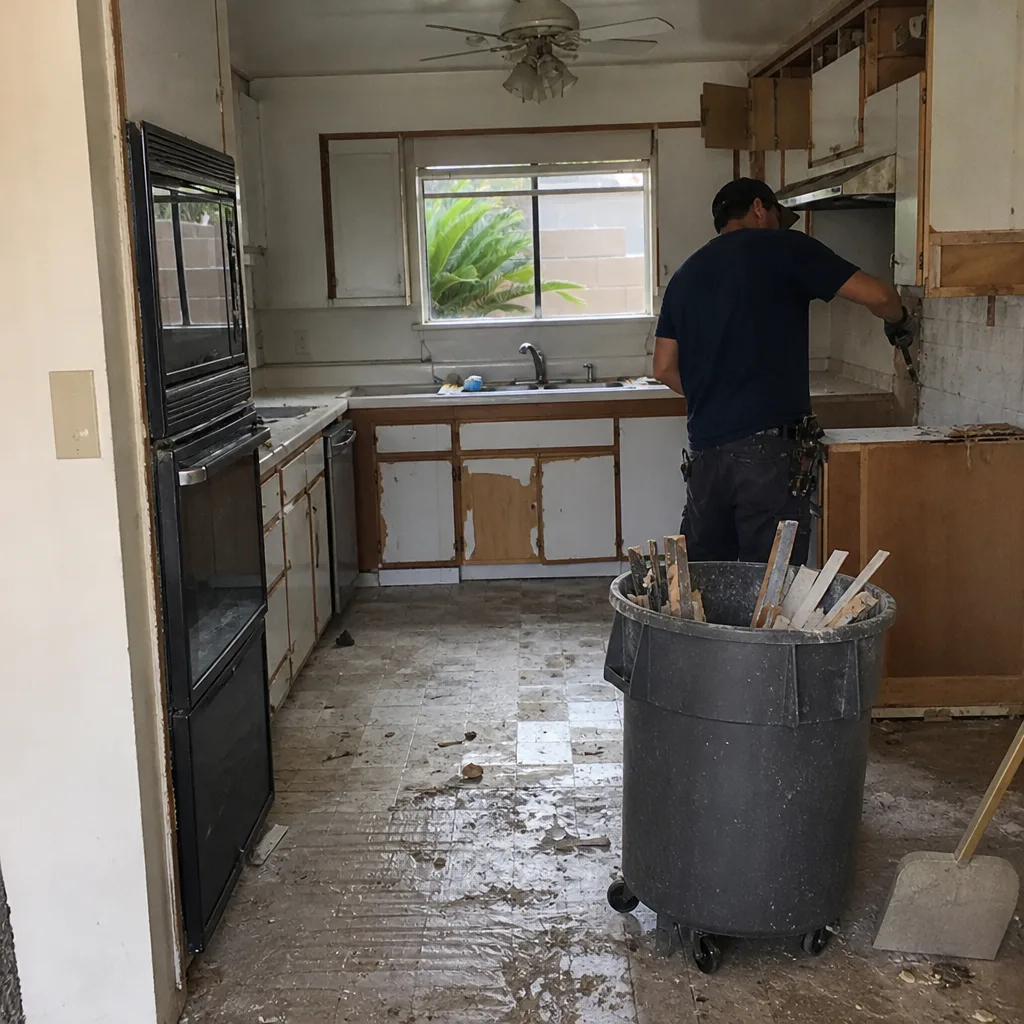 Before
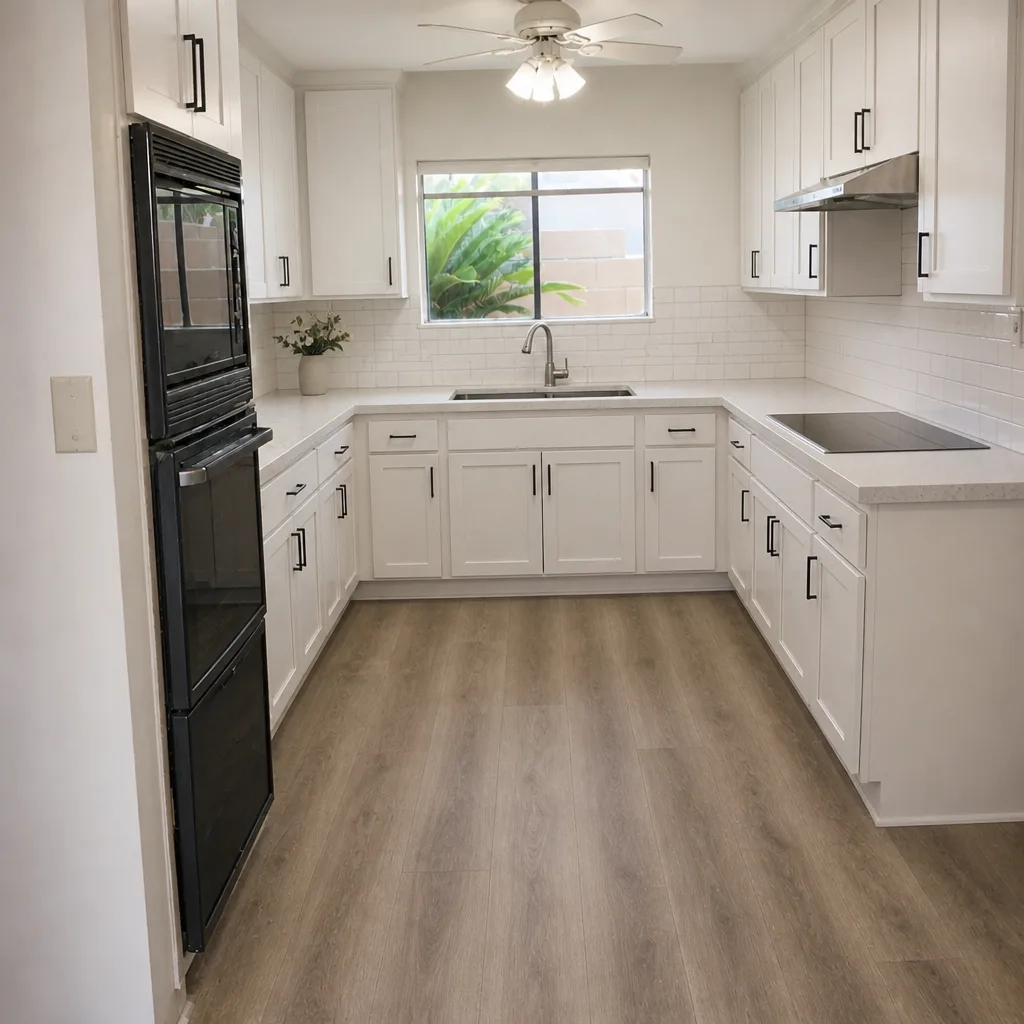 After
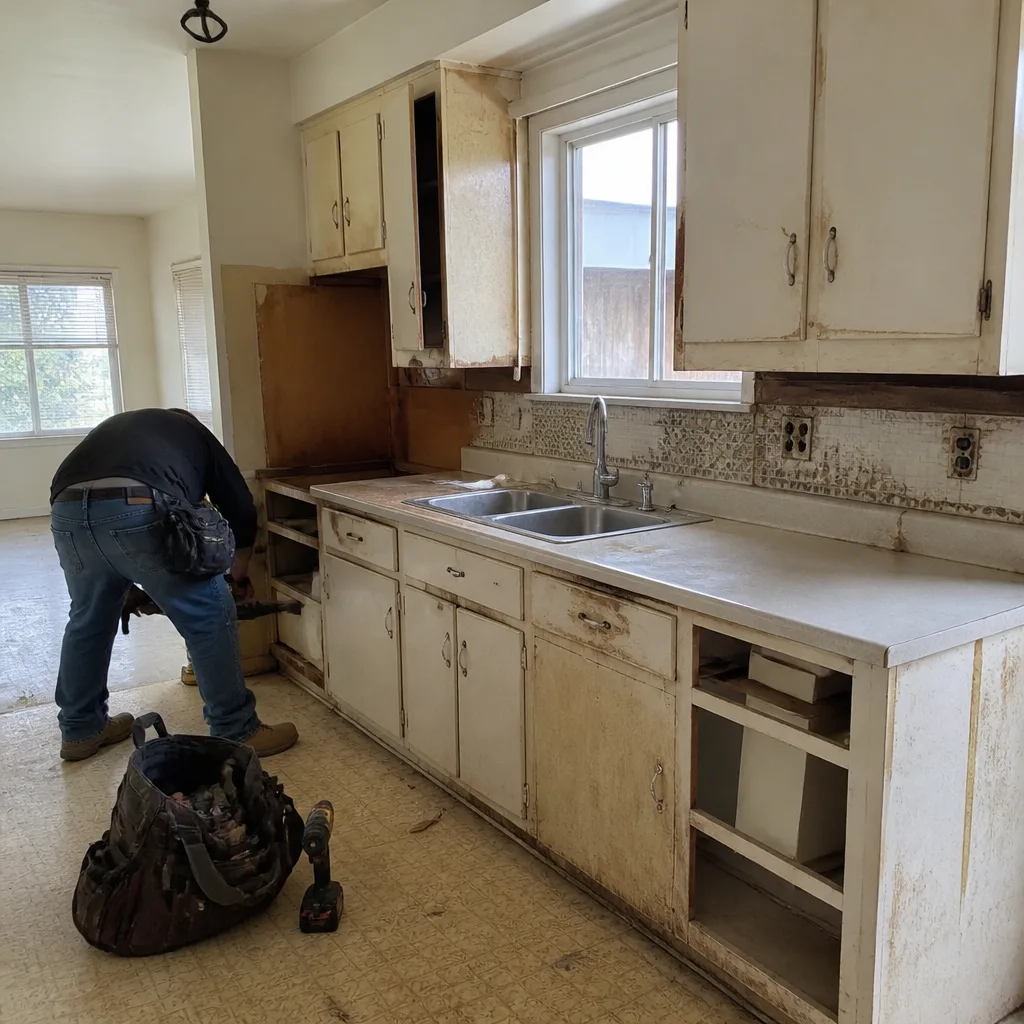 Before
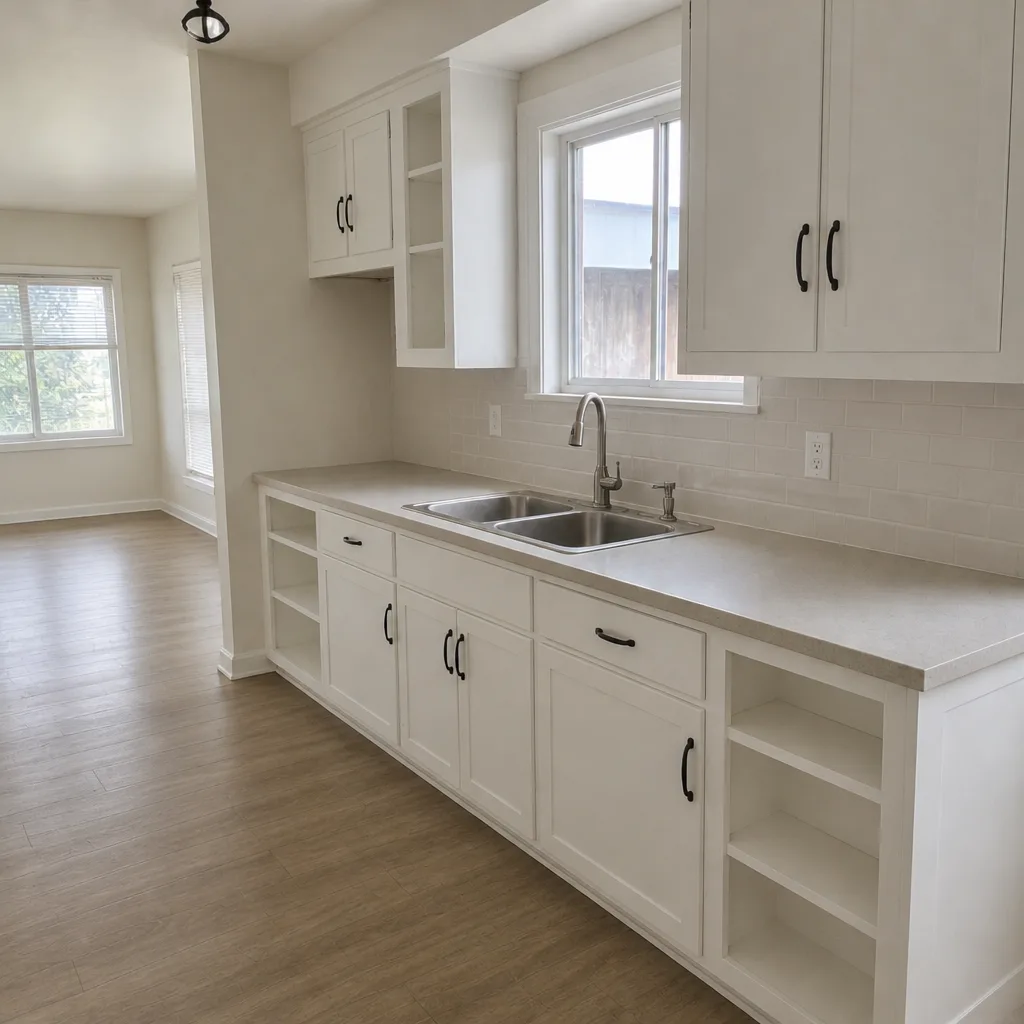 After